Automation Editor in LMMS

I have often used the automation tracks in LMMS to turn up or down volume, to change plugin effects, and to really do everything.

LMMS Song

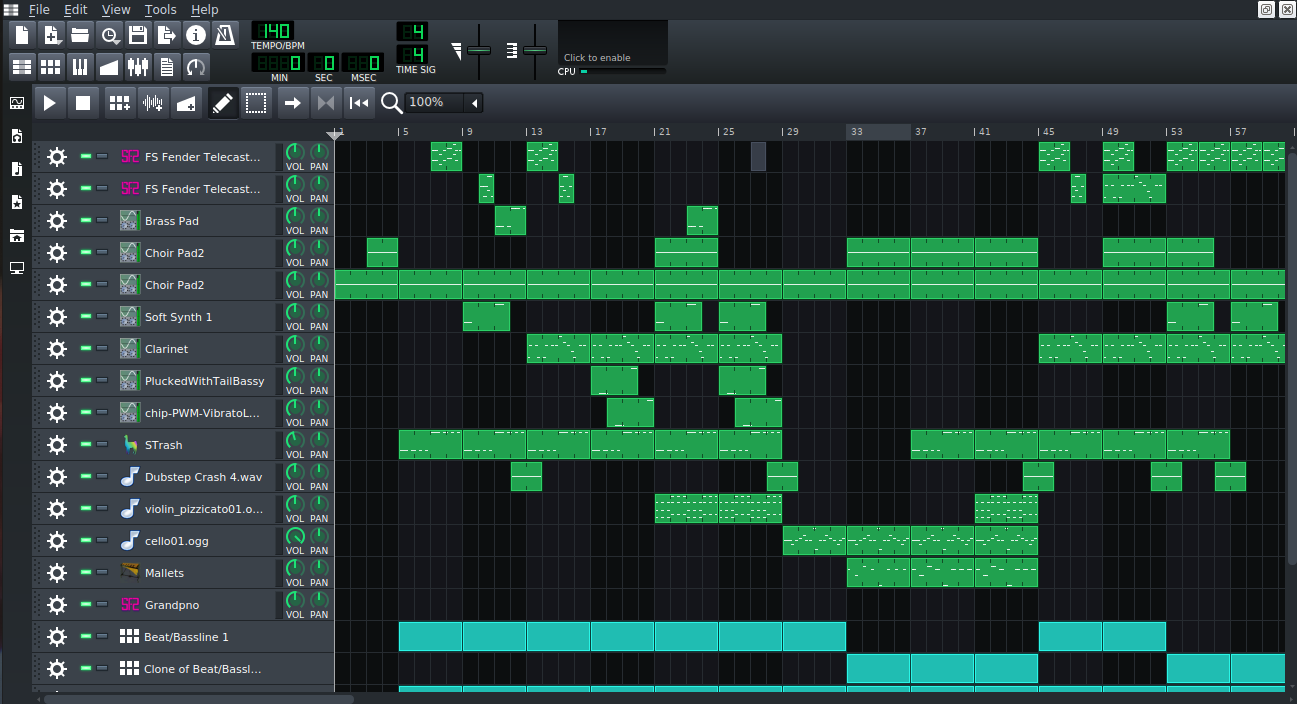
Now, I have a lot going on here, but lets say that the violin needed to be louder for a bit to carry the beat.

Violin Volume

I have created a automation track and expanded it out to fill four bars. It isn’t doing anything for us yet, so lets fix that.

Mixer Window

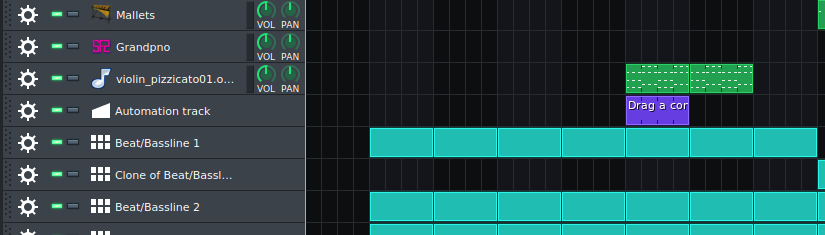
Here is my mixer window, and my violin is set to track 19.

Drag And Drop

If you drag your volume bar or effect knob to the automation track, it will tie it to change that control. So what does the editor look like?

Automation Editor

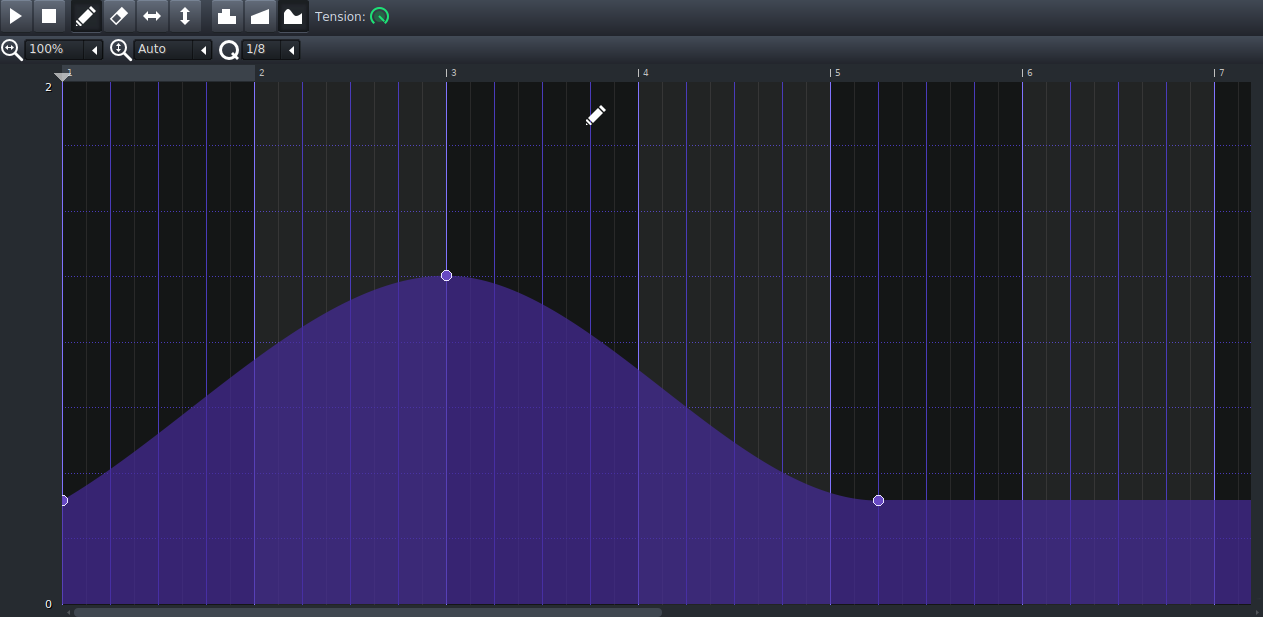
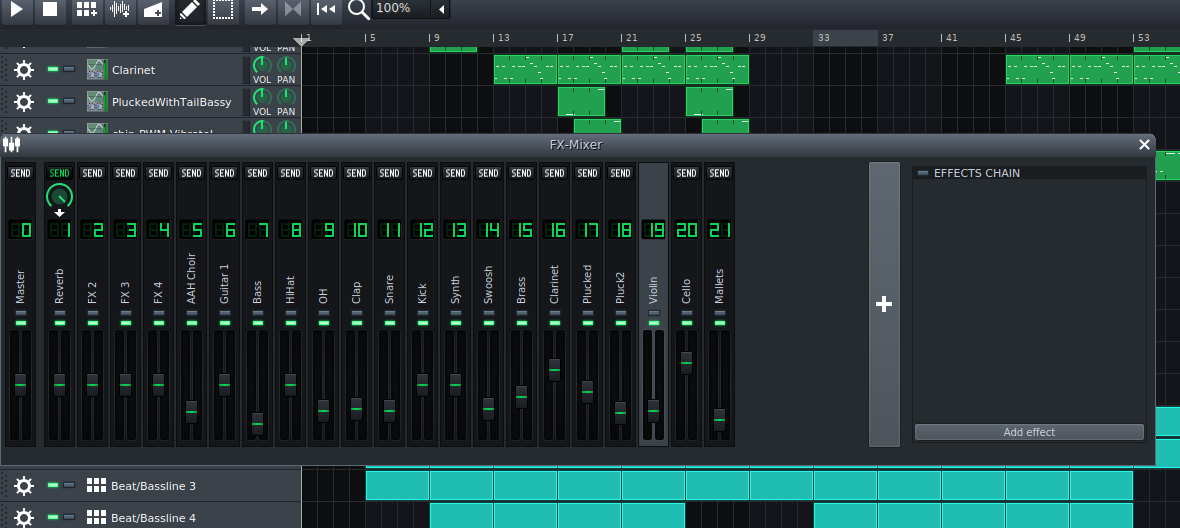
This is it, and I have already added two dots to raise the volume temporarily. There are three options at the top to make a change on a very choppy, linear, or smooth path. Now, if you wanted to change more than one control with the same automation track, just drag another control to the track. It won’t appear to change, but if you right click on the track it should say 2 Connections at the bottom.

Zynaddsubfx in Ardour

I don’t know about you, but I’m super excited to have the latest Zynaddsubfx running in Ardour. I actually got it from the github page for Linux and it took forever to build. I had tried to install it multiple other ways, but it had unmet dependencies or wouldn’t show up in Ardour.

Zynaddsubfx Finally Running

I have come to love the different synths provided in Synaddsubfx because I used to use it in LMMS and it has especially nice choir sounds. It now has a bunch of new synth plugins, and plenty of options for customization.

Zynaddsubfx Finally Running In Ardour

Editing Audio in Audacity

So, you recorded yourself, but there is a big gap at the beginning of the audio clip. Well, that “problem” can be easily solved using Audacity.

Audio Selected

Editing is as simple as dragging to select and deleting the undesired area. The problem is when you are trying to edit tiny bits of audio out of a recording. Maybe there is a wrong note on your piano recording, or you said the wrong word. It all depends how well you want the audio track to flow. In this song, a note is about .2 seconds long. That will differ from song to song, but this is around the sweet spot where you can pick out undesirable sounds.

Zoomed In On Audio

There are some helpful editing tools that are highlighted in red in the corner. There are in order, the cut, copy, paste, trim around selection, and silence selection tools. There are also five zoom tools at the top, but it is easiest to just use the zoom in and out ones.

Editing Tools

Step by Step Audacity

What is Audacity you may ask. Well, I’m glad you asked. Audacity is free, open source, cross-platform, audio editing and recording software. I am going to start off with the basics, but if you want to look at some of the cool stuff you can do with Audacity then consider checking out the wiki page.

So, yes, it is cross-platform. It runs on most of the main operating systems that are available today, and I am using it on Linux. If you are too it is as simple as opening up a terminal window and typing sudo apt-get update && sudo apt-get install audacity. Downloading using apt-get won’t always get you the latest version of the software, so you can also get the Linux source code, the Windows, or macOS downloads from their website.

Now that we have Audacity installed, what do we do with it? Well, lets start with recording. If you plug a microphone into your computer Audacity should pick it up. My settings are shown in the picture below, but keep in mind I am using Linux, so the playback and audio host software will likely be different on Windows and macOS.

Audacity Settings

The main thing that you should notice is the recording device. Mine is set to my laptop sound card, but if you have a DAC to plug in you would change that setting here.

Monitering

If you click at the top of the application where the monitoring volume bar is you should be able to see the input of the microphone plugged in.

Recording Track

You should now be able to press the red recording button and record on a stereo track. Be careful that you aren’t clipping. You should have the input volume high, but the track volume can be turned down.

If you happen to have a mono microphone than you can click on the Audio Track drop down and Split Stereo Track. Then you can pan the mono track to the middle.

Recording in Ardour

Having the ability to record and synthesize side by side is the reason that I have started to really use Ardour. I used my Behringer U-Phoria UMC-22 and my Samson CO1 Condenser microphone. It is really budget equipment, but it serves my purposes well. The nice thing is the Behringer DAC automatically came up as an option on Ardour as an audio interface. I know that on Windows, you sometimes have to install drivers to get the interface to come up, but on Linux it worked great for me.

Setting Up DAC

As you can see, I switched my Input Device and Output Device from my laptop’s sound card to my DAC. To be sure that your microphone is coming through, you should see audio coming into the track on the input volume level bar (the green bar in the picture below). Once you have a microphone hooked up, then it is on to recording. All you have to do is add a normal audio track. There is a button to prime each individual track for recording, so be sure to click it on the proper track. You can then press Shift and Space bar to start recording. Instead of that shortcut you could also press the record button at the top of the program and then play.

Recording Track