Editing Audio in Audacity

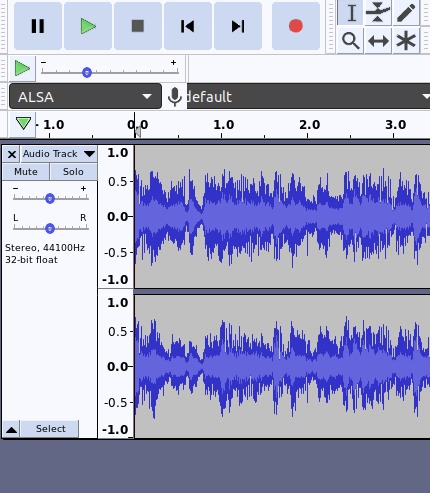
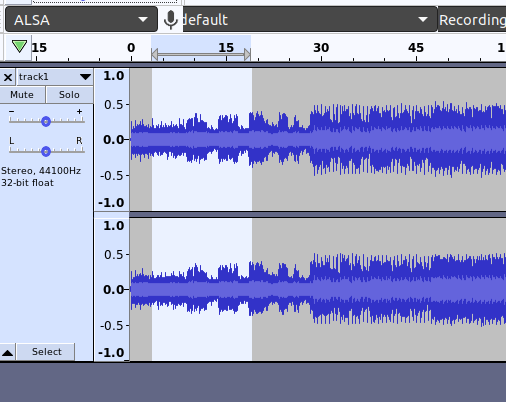
So, you recorded yourself, but there is a big gap at the beginning of the audio clip. Well, that “problem” can be easily solved using Audacity.

Audio Selected

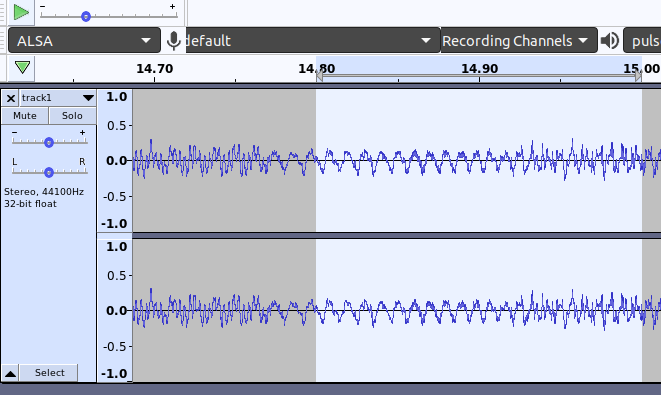
Editing is as simple as dragging to select and deleting the undesired area. The problem is when you are trying to edit tiny bits of audio out of a recording. Maybe there is a wrong note on your piano recording, or you said the wrong word. It all depends how well you want the audio track to flow. In this song, a note is about .2 seconds long. That will differ from song to song, but this is around the sweet spot where you can pick out undesirable sounds.

Zoomed In On Audio

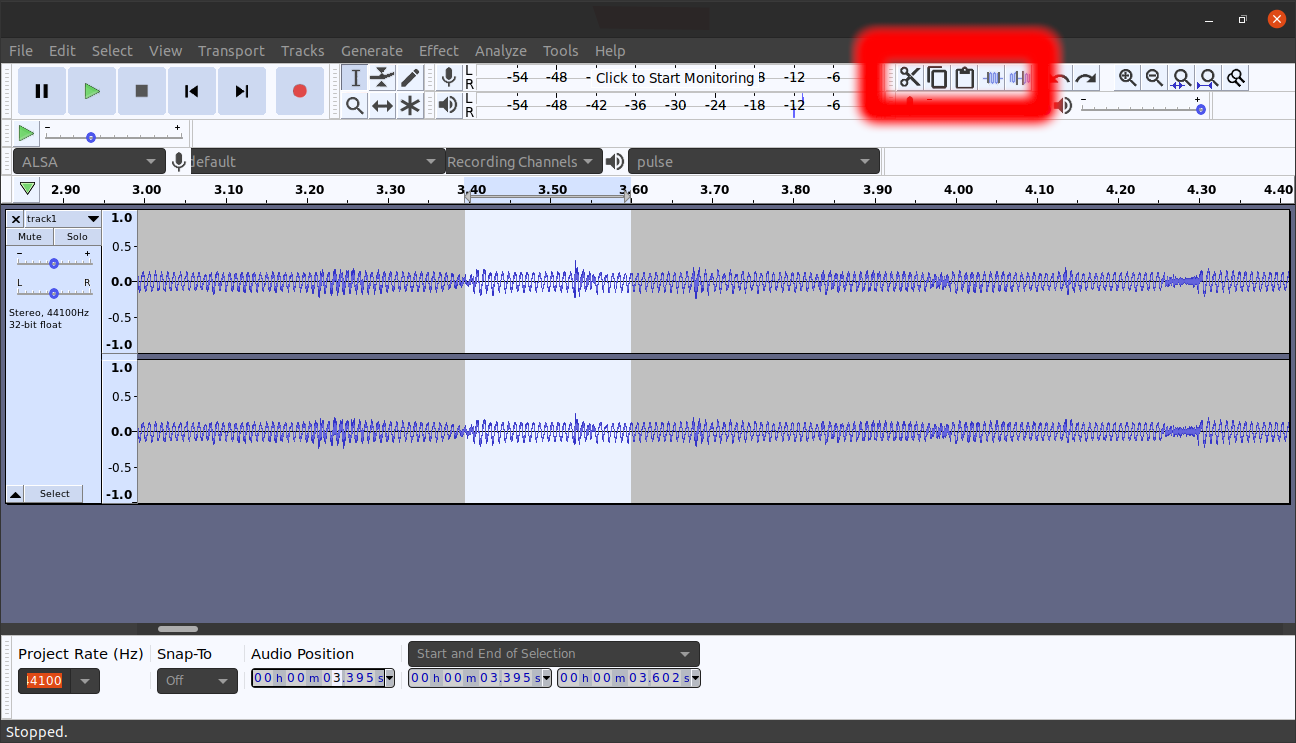
There are some helpful editing tools that are highlighted in red in the corner. There are in order, the cut, copy, paste, trim around selection, and silence selection tools. There are also five zoom tools at the top, but it is easiest to just use the zoom in and out ones.

Editing Tools

Step by Step Audacity

What is Audacity you may ask. Well, I’m glad you asked. Audacity is free, open source, cross-platform, audio editing and recording software. I am going to start off with the basics, but if you want to look at some of the cool stuff you can do with Audacity then consider checking out the wiki page.

So, yes, it is cross-platform. It runs on most of the main operating systems that are available today, and I am using it on Linux. If you are too it is as simple as opening up a terminal window and typing sudo apt-get update && sudo apt-get install audacity. Downloading using apt-get won’t always get you the latest version of the software, so you can also get the Linux source code, the Windows, or macOS downloads from their website.

Now that we have Audacity installed, what do we do with it? Well, lets start with recording. If you plug a microphone into your computer Audacity should pick it up. My settings are shown in the picture below, but keep in mind I am using Linux, so the playback and audio host software will likely be different on Windows and macOS.

Audacity Settings

The main thing that you should notice is the recording device. Mine is set to my laptop sound card, but if you have a DAC to plug in you would change that setting here.

Monitering

If you click at the top of the application where the monitoring volume bar is you should be able to see the input of the microphone plugged in.

Recording Track

You should now be able to press the red recording button and record on a stereo track. Be careful that you aren’t clipping. You should have the input volume high, but the track volume can be turned down.

If you happen to have a mono microphone than you can click on the Audio Track drop down and Split Stereo Track. Then you can pan the mono track to the middle.