Our drivers door on our 2007 Ford Focus broke and we were forced to open the vehicle from the trunk or use the key-less remote. After disassembling the door, this is the piece that I found was broken.
The bottom piece is the new part and you can see the little metal tab sticking out on the right that is not on the top part. It was quite the hassle to get the part into the door since there is limited room. Now the door works just as new and I am pleased with the part.
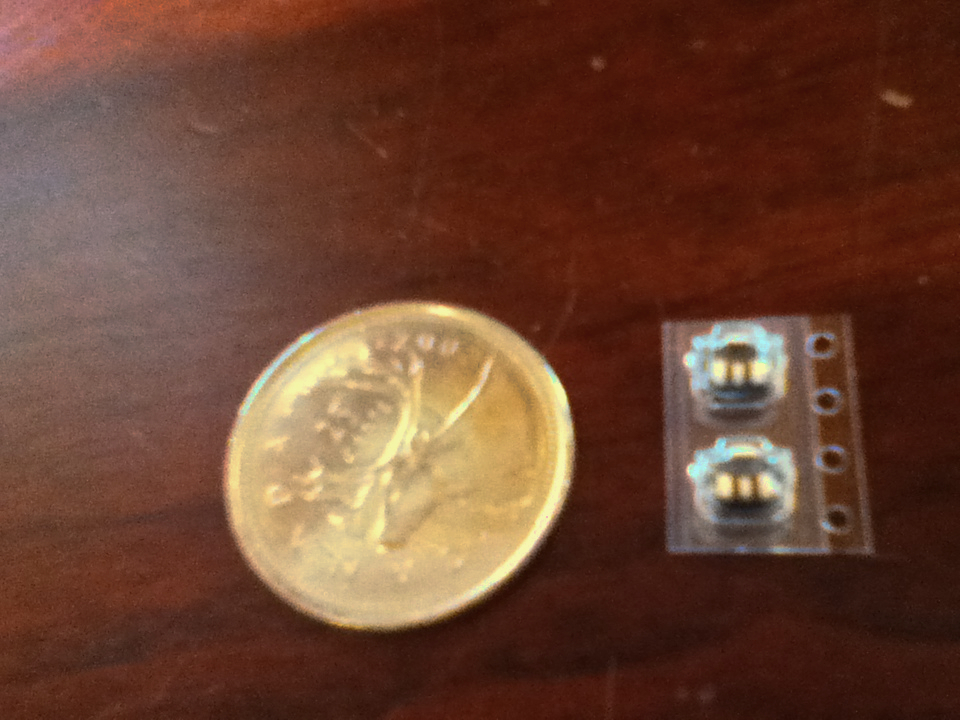
You may remember a previous post where I started a project to fix my DSI shoulder buttons. I took it apart and the old buttons off pretty quick. The buttons finally came in the mail and I was all too eager to get them installed. Just for reference, here is a picture of the buttons next to a quarter.
Yeah… They are pretty tiny. I was able to enlist the help of my mother to hold things for me and after a hour or so of dedicated work, I had the new buttons on. I tested them and they felt more “clicky” than the old ones. It could be that they were new or that they are just a slightly different kind of button.
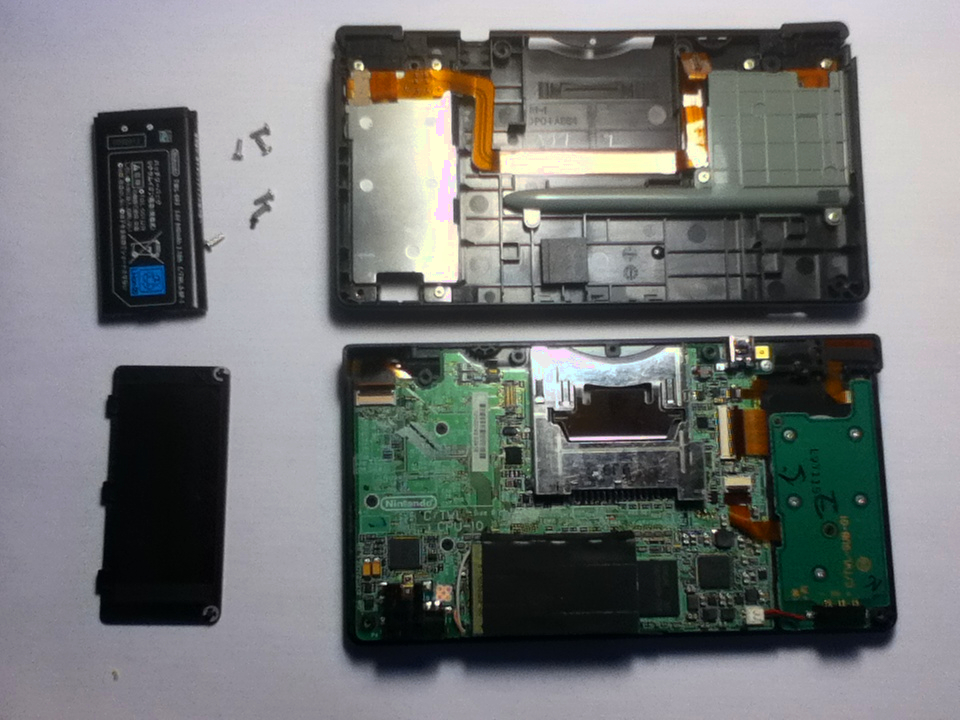
The only problem was that my soldering gun had a massive end and my solder points were poorly soldered. I ended up taking it apart and re-soldering it many times. I got tired of putting the whole back cover back on every time and tried to cut some corners by plugging the cable in and pushing the battery into the metal tabs for testing.
That turned out to be a very bad mistake that I only realised later. One time while testing, I accidentally pushed the battery terminals on backwards and the screen wouldn’t turn on anymore! I was able to bypass the fuse and finish fixing the buttons, but now I had this fuse blown out. I will cover that in a following post. Needless to say, the back cover only allows you to put the battery in one way, and you shouldn’t test it without snapping the back cover on before putting the battery in.
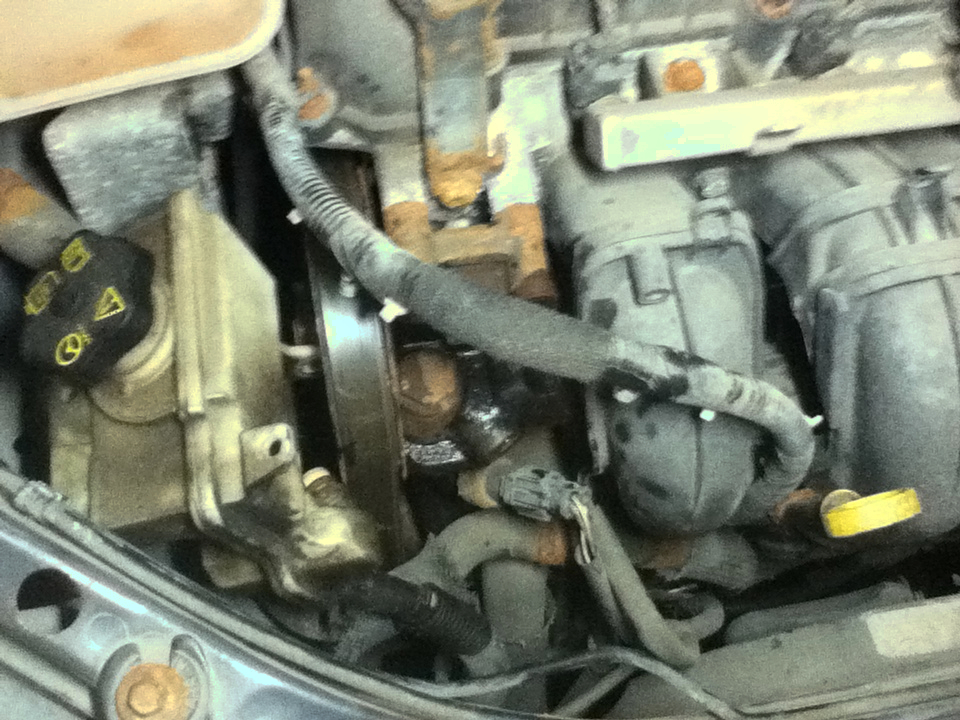
Our 2007 Ford Focus started having a power steering oil leak a few years back and we would top it off when the pump started making excessive noise. After sitting through a winter, the line burst when we started it back up. I got around to replacing it, and it took more work than I thought it would have. I took the line off of the pump and fished it down under the car.
The line fed back up under the air intake and battery housing. I had to remove those before removing it from the steering shaft.
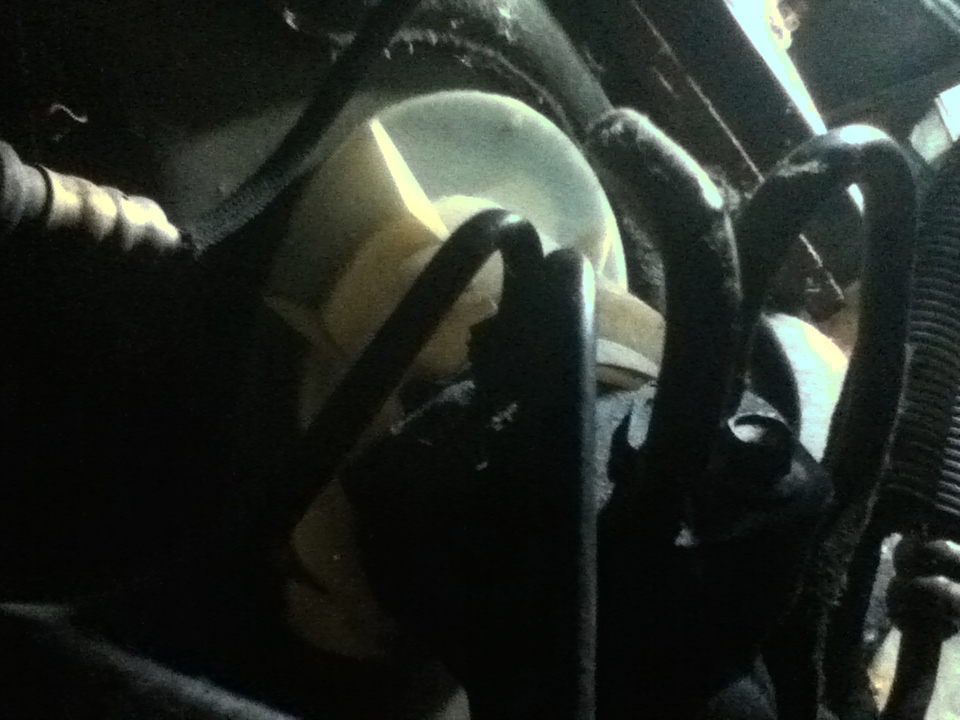
It took a bit of work to get it all back together and fish it around all of the other cables and hoses but it worked! It did make some strange gurgling when the car was first running and I figure that is from air being in the line. After a few minutes of running, the sounds went away and it sounds fine now.
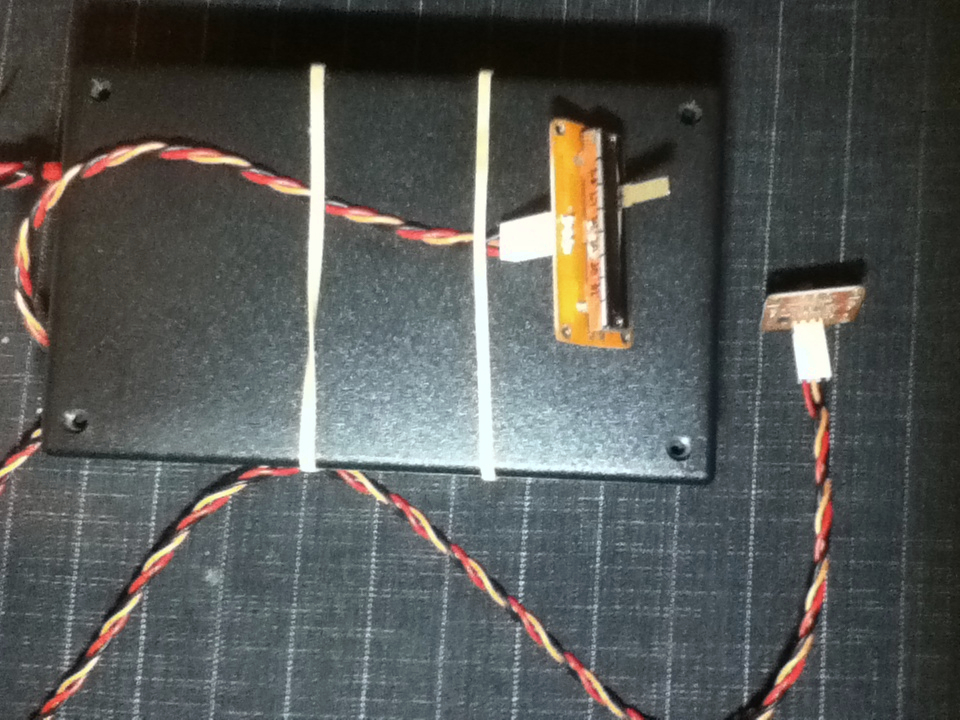
You may remember my previous posts on my Arduino that switches AC current on and off based on the thermistor sensor reading. After using this for a year, I have ended up changing the switching temperature multiple times based on the season. I decided to add a linear resistor to change the switching temperature.
I started by printing the resistor reading to the serial monitor and found that my resistor sends values of about 100 – 900. I then created seven ranges that the code would switch the temperature at.
While it is still in development, my thermostat switch is quite handy. We use it, mainly in the winter, to switch on a fan when our radiator gets hot. Depending on the time of year and the temperature fluctuation, it is handy to be able to change the temperature it switches at without removing the whole arduino to upload new code.
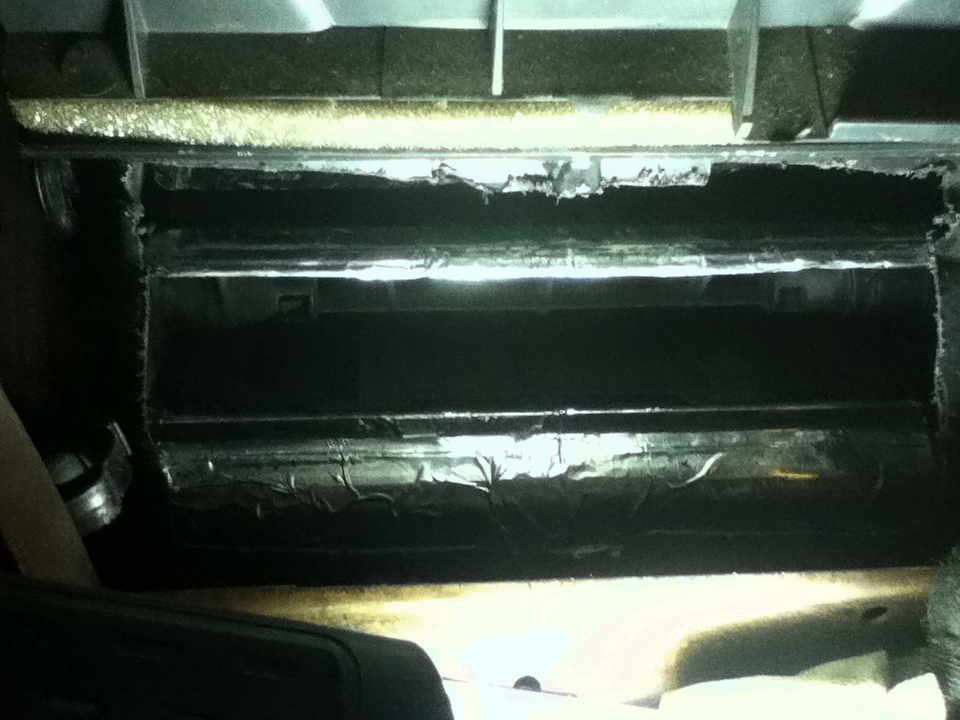
In my last post, I discovered how to fix the HVAC control knob, but that was not the root of my problem. The root of the whole thing was that the HVAC shutter doors were getting stuck. This “hack” is not the proper way of doing things, but cuts off a lot of time removing the whole dash and taking the whole HVAC apart. behind the controls and radio is the HVAC system. I cut a hole in it and found the lower shutter door that I knew was sticking. There is a rubber seal on the door that had degraded and turned into this glue like goop that stuck the shutter door to the walls. I cleaned off as much of the goop as possible with rubbing alcohol but I knew that it would eventually get sticky again, so I put aluminium foil tape over the door to eliminate any chances of it sticking again.
I hot glued in the plastic that I had cut out and made sure it had a good seal. While this is not a proper fix and isn’t really professional, I wanted to get this working with the least amount of time as possible. This seems like it will be a good permanent solution. The car just won’t look as nice if you were to take it apart one day.