You may remember a previous post where I started a project to fix my DSI shoulder buttons. I took it apart and the old buttons off pretty quick. The buttons finally came in the mail and I was all too eager to get them installed. Just for reference, here is a picture of the buttons next to a quarter.
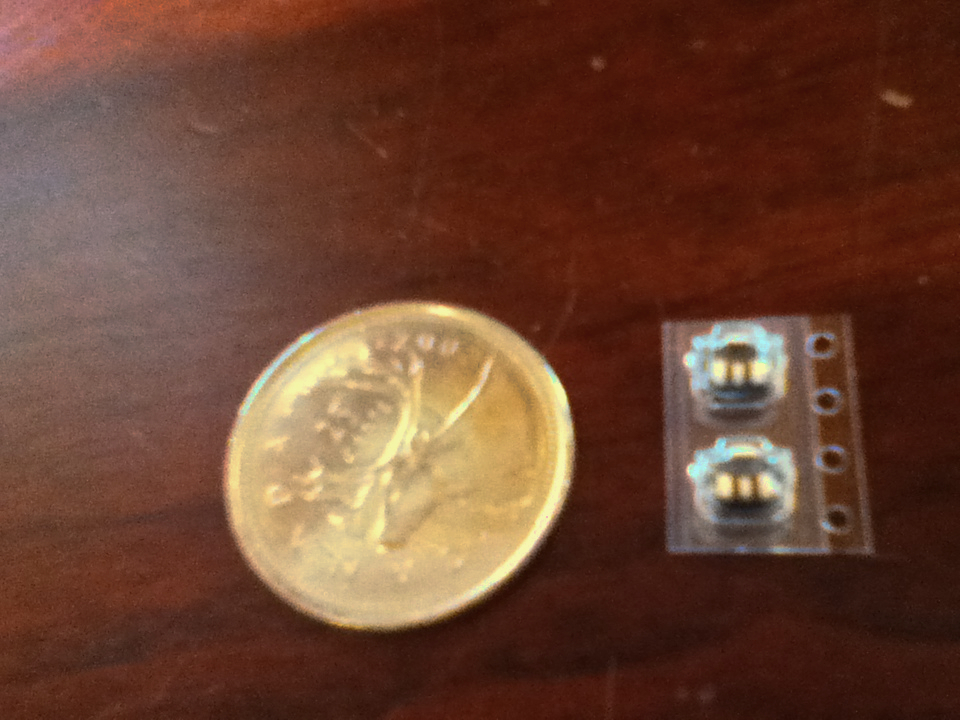
Yeah… They are pretty tiny. I was able to enlist the help of my mother to hold things for me and after a hour or so of dedicated work, I had the new buttons on. I tested them and they felt more “clicky” than the old ones. It could be that they were new or that they are just a slightly different kind of button.
The only problem was that my soldering gun had a massive end and my solder points were poorly soldered. I ended up taking it apart and re-soldering it many times. I got tired of putting the whole back cover back on every time and tried to cut some corners by plugging the cable in and pushing the battery into the metal tabs for testing.
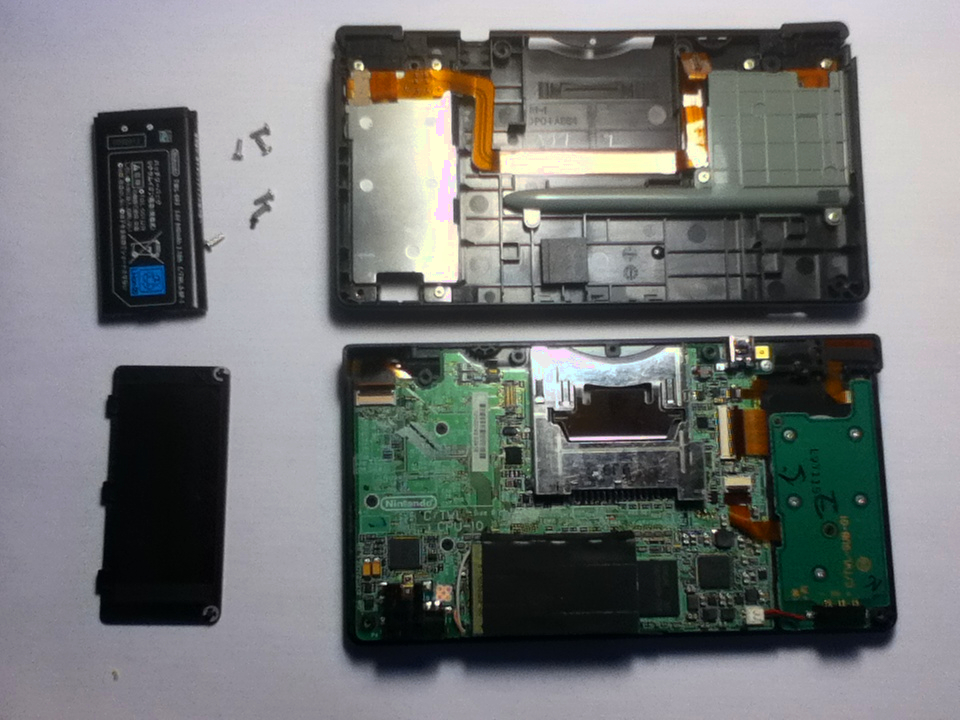
That turned out to be a very bad mistake that I only realised later. One time while testing, I accidentally pushed the battery terminals on backwards and the screen wouldn’t turn on anymore! I was able to bypass the fuse and finish fixing the buttons, but now I had this fuse blown out. I will cover that in a following post. Needless to say, the back cover only allows you to put the battery in one way, and you shouldn’t test it without snapping the back cover on before putting the battery in.