There are a lot of different chat bots that are becoming popular like Perplexity and ChatGPT. While it is fun to see what the AI algorithms come back with, I have really enjoyed using generative AI to produce images. I have used Craiyon, Stable Diffusion, and more recently Gemini’s Bard image generator.
Vinyl Record With Floral Growth
Although the images generated can be quite chaotic or unrealistic at times, when given the right prompt, these generators can produce interesting and fun images. There are so many key words that they pick up on like styling photos to be photo-realistic, classic, impressionist, hand-drawn, ect. You can pick what ever they draw and add elements like a graffiti or floral look. It is not only a lot of fun, but can be useful when trying to come up with specific images. Here are a couple fun examples that were generated with Bard.
Shooting Star Over A Hill In The Style Of Starry Night
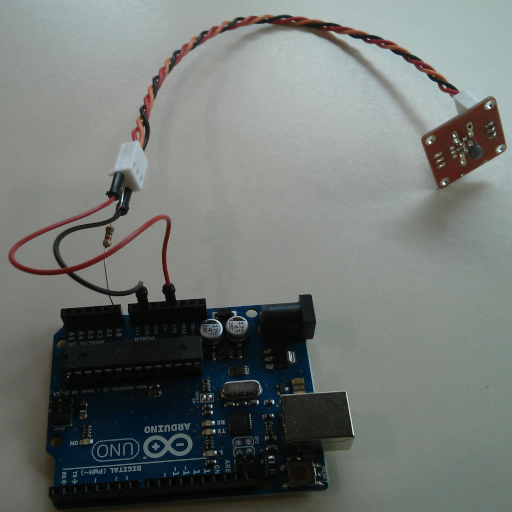
You may remember my previous posts on my Arduino that switches AC current on and off based on the thermistor sensor reading. After using this for a year, I have ended up changing the switching temperature multiple times based on the season. I decided to add a linear resistor to change the switching temperature.
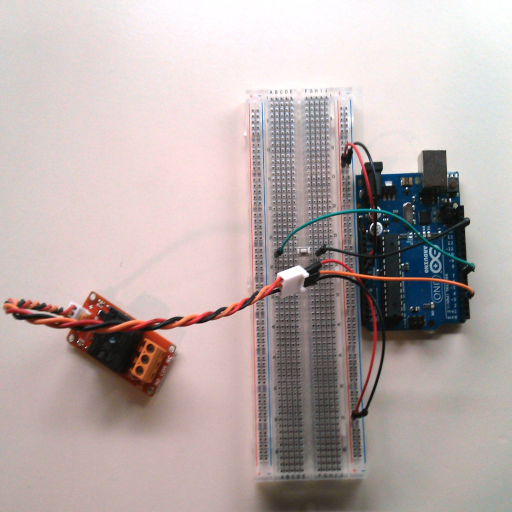
I started by printing the resistor reading to the serial monitor and found that my resistor sends values of about 100 – 900. I then created seven ranges that the code would switch the temperature at.
While it is still in development, my thermostat switch is quite handy. We use it, mainly in the winter, to switch on a fan when our radiator gets hot. Depending on the time of year and the temperature fluctuation, it is handy to be able to change the temperature it switches at without removing the whole arduino to upload new code.
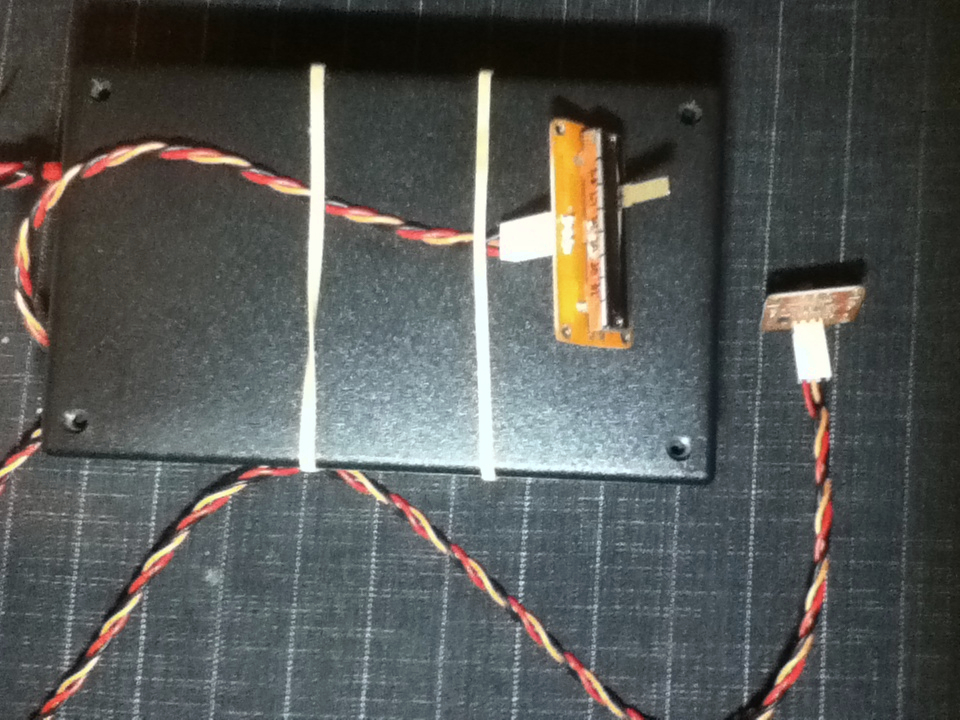
I have been tweaking my Arduino project lately and have got some decent results. I started by setting up the relay and thermistor separately. The plan was to turn on and off a fan based on when the room was hot or cold. Of course the hot and cold values were just our preference as set in the Arduino’s code.
Here is what the current prototype looks like.
Graphing the serial output was something that helped us choose what temperature to turn on and off at. It currently sits near the heater and helps to circulate the warm air.
Temperature readings are a very useful data source. From mini weather setups to indoor readings, the thermistor sensor has many possible applications. The Arduino is a great board for gathering sensor data, being so low powered, easy to use, and giving precise controls and readings with its built in crystal oscillator.
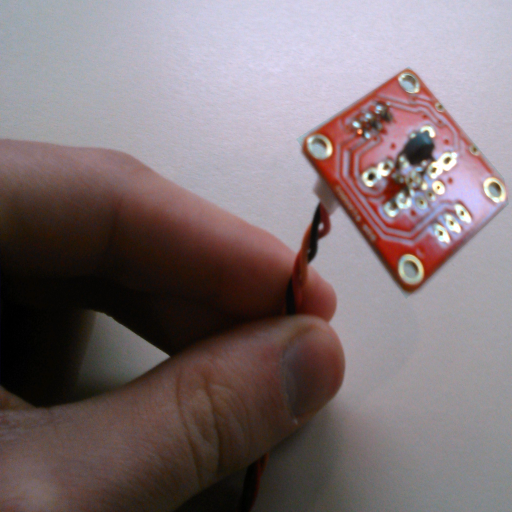
This module has a NTC, 100k, disc thermistor. I used a 1k resistor on the output pin coming from the thermsitor.
I borrowed some code from this forum post. You may have to change some values depending on what thermistor, resistor pair you use, but that code should give you a near approximation. For a more in-depth, accurate approach, consider reading this post.
Do you ever get tired of getting up to turn the light off? Is that fan running when it doesn’t always need to be? A relay is a simple switch controlled by a small input signal, and when paired with an Arduino board, it can be told through code to turn on under specified conditions. This gives more control than a manual switch, and more convenience.
I am using an Arduino Uno and a TinkerKit relay module in this example. The red wire coming from the relay is 5v, the black wire is GND, and the center orange wire is the signal input wire to activate the relay. I put a button in to control the relay, and that required more code.
I ran into debouncing problems, and had to do some research. With push buttons, the button could be slightly pressed and send multiple short signals. As you can imagine, your lights flickering on and off like that would be an annoyance, and it would be hard to stop the flickering in the desired position, on or off. After reading, I found that some had suggested a 10ms delay in the loop would solve that problem. Here is the code I used after some edits.
const int BUTTON_PIN = 7; // set button pin
const int RELAY_PIN  = 3; // set relay pin

int button_state = 0; //variable for button's state
int button_state_old = 0; //variable to store old button state
int relay_state = 0; //variable to store relay state


void setup() {
  Serial.begin(9600);
  pinMode(BUTTON_PIN, INPUT_PULLUP); // set arduino pin to input pull-up mode
  pinMode(RELAY_PIN, OUTPUT);        // set arduino pin to output mode
}

void loop() {
  button_state = digitalRead(BUTTON_PIN); //read button input value and store

  if ((button_state == HIGH) && (button_state_old == LOW)) {
    relay_state = 1 - relay_state;
    delay(10); //10ms delay
  }

  button_state_old = button_state; //set old button state

    if (relay_state == 1) {
    digitalWrite(RELAY_PIN, LOW); //switch relay on
  } else {
    digitalWrite(RELAY_PIN, HIGH); //switch relay off
  }
}