AutoTune vs Vocoding

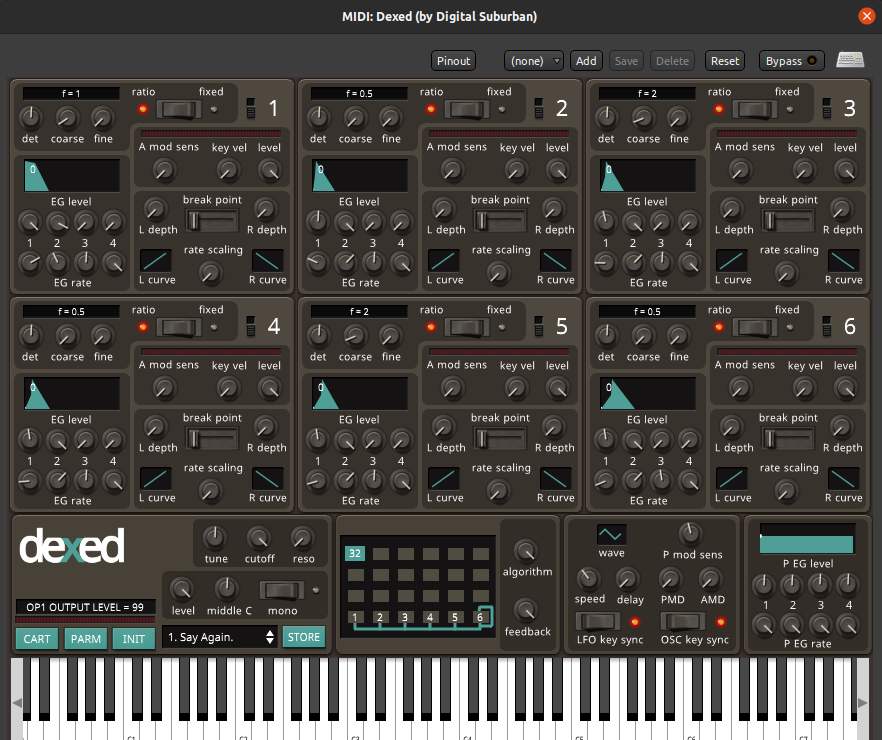
Most people that listen to music would know what AutoTune is. However, not everybody knows about it’s less music oriented predecessor, the Vocoder. There is a definite difference between those who use auto tune for correcting “off” notes, and those who use it because they like the sound of it. If you like robotic voices, you might like the sound of vocoder plugins.

A vocoder basically mixes your voice with a synthesizer. The benefit being that there is a large selection of sound distorting options.

AutoTune Plugin In Ardour

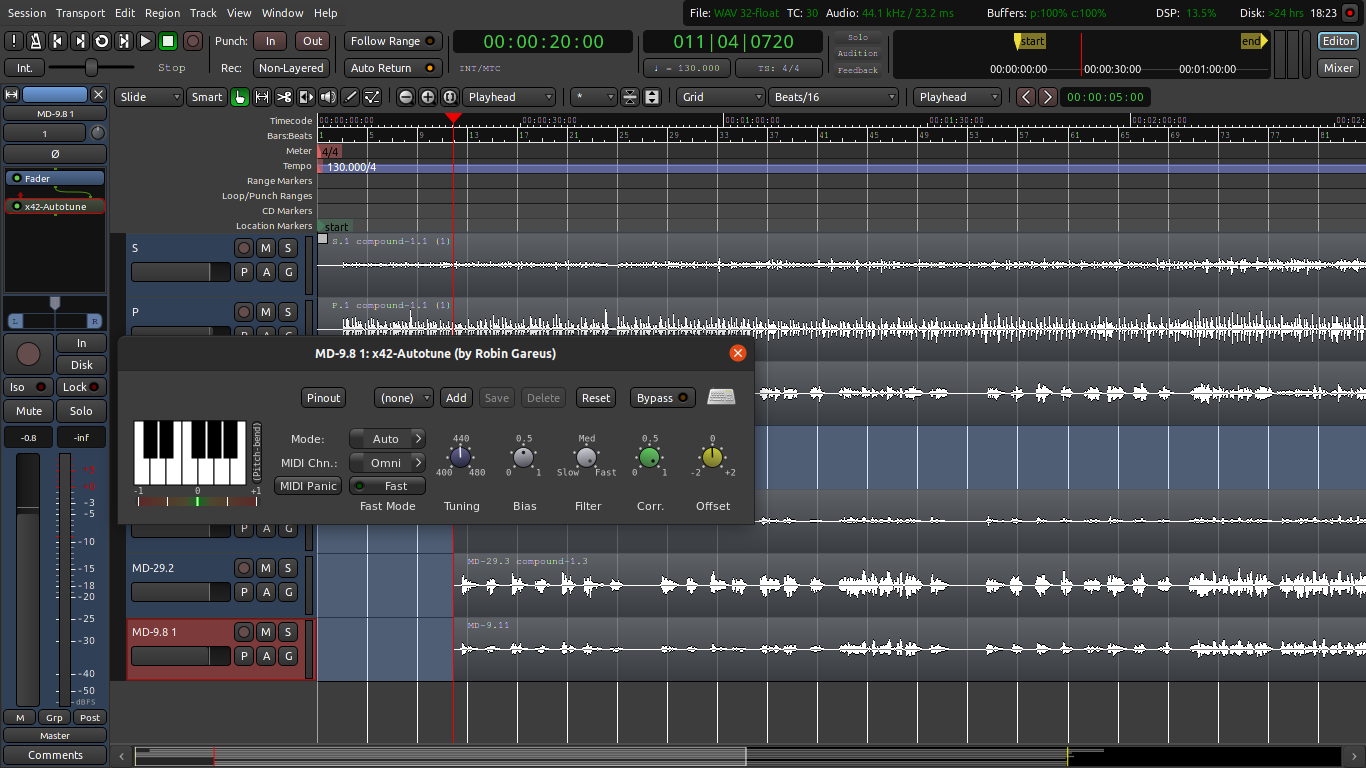
I installed this auto tune plugin and it worked out of the box, but it had a very minimal effect on the sound even on the fast setting.

VocProc Plugin In Ardour

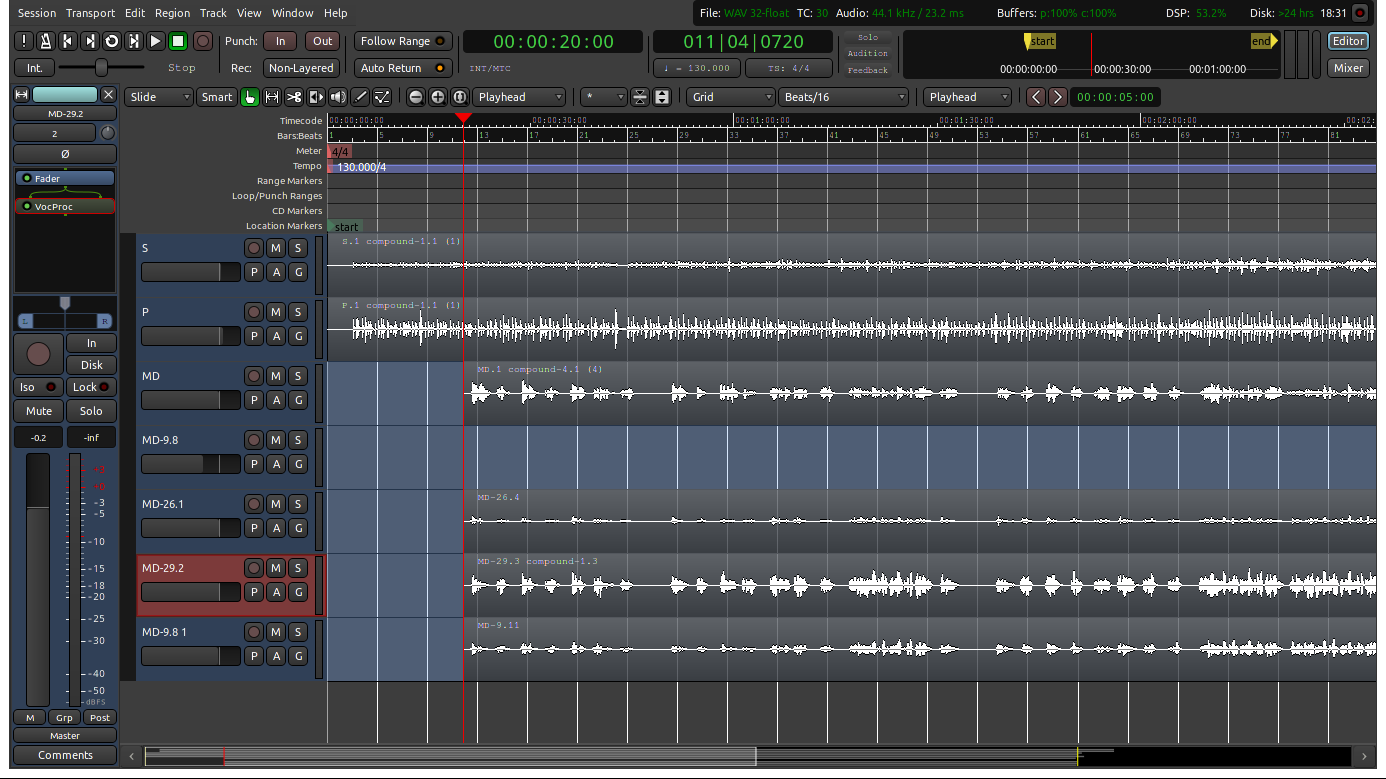
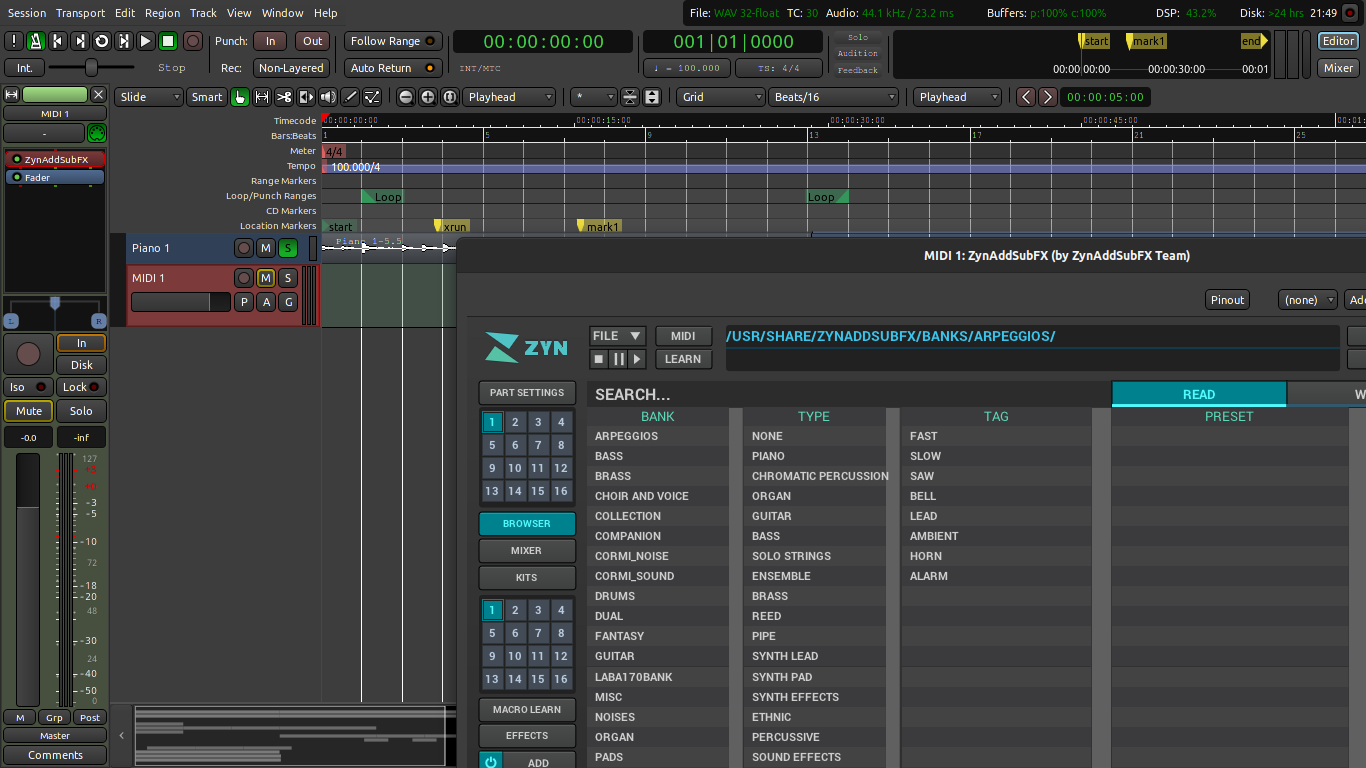
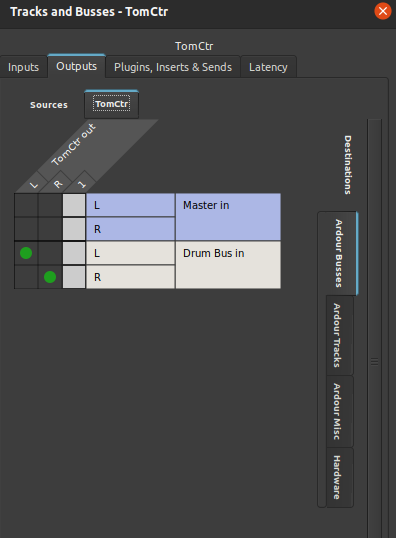
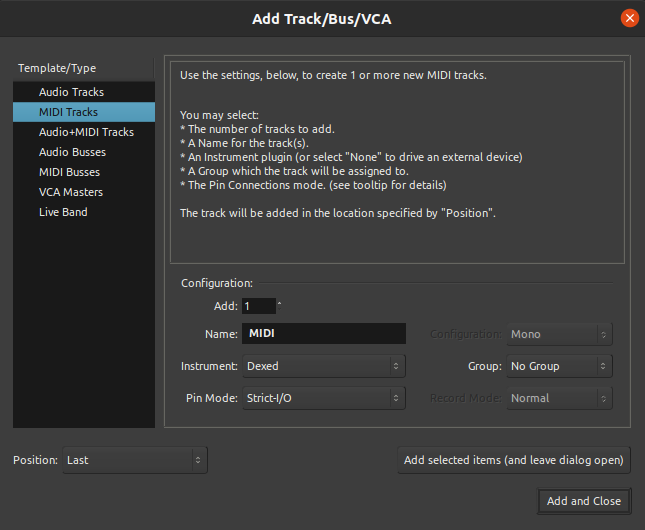
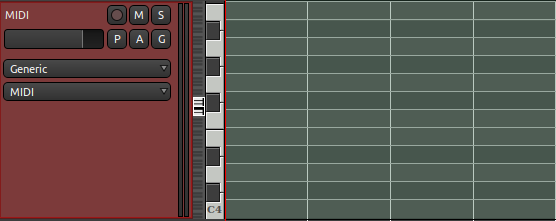
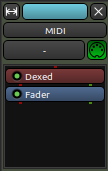
I also installed this vocproc plugin and was able to get a robotic sounding result. You can install it on Linux with a simple command: sudo apt-get install vocproc. It automatically popped up in Ardour, but it did take some messing around with, as it bases it’s pitch shifting on a separate MIDI track. A more in depth setup video for vocproc can be found here.

Zynaddsubfx in Ardour

I don’t know about you, but I’m super excited to have the latest Zynaddsubfx running in Ardour. I actually got it from the github page for Linux and it took forever to build. I had tried to install it multiple other ways, but it had unmet dependencies or wouldn’t show up in Ardour.

Zynaddsubfx Finally Running

I have come to love the different synths provided in Synaddsubfx because I used to use it in LMMS and it has especially nice choir sounds. It now has a bunch of new synth plugins, and plenty of options for customization.

Zynaddsubfx Finally Running In Ardour

Recording in Ardour

Having the ability to record and synthesize side by side is the reason that I have started to really use Ardour. I used my Behringer U-Phoria UMC-22 and my Samson CO1 Condenser microphone. It is really budget equipment, but it serves my purposes well. The nice thing is the Behringer DAC automatically came up as an option on Ardour as an audio interface. I know that on Windows, you sometimes have to install drivers to get the interface to come up, but on Linux it worked great for me.

Setting Up DAC

As you can see, I switched my Input Device and Output Device from my laptop’s sound card to my DAC. To be sure that your microphone is coming through, you should see audio coming into the track on the input volume level bar (the green bar in the picture below). Once you have a microphone hooked up, then it is on to recording. All you have to do is add a normal audio track. There is a button to prime each individual track for recording, so be sure to click it on the proper track. You can then press Shift and Space bar to start recording. Instead of that shortcut you could also press the record button at the top of the program and then play.

Recording Track

Ardour Sub-Mix

Before I explain how to add and setup a sub mixing bus in Ardour, I must explain how it’s useful. My particular usage was to control the volume of multiple drum tracks. The bus basically allows you to affect or mix multiple tracks instead of doing them all individually. Another use case would be to add audio effects to multiple tracks, like reverb.

So, to add an audio bus in Ardour you add a audio bus track just as you add other tracks. Something to notice is that it automatically has the track set to mono, but I changed it.

Adding A Audio Bus

Here is what it looked like on my mixer window. As you can see I had four different drum tracks that I was trying to mix together. On the end there is the audio bus that I added.

Mixer Window

If you click on Window -> Tracks and Busses you can bring up the routing grid for all the tracks and busses. All you have to do to connect the tracks to the bus is disconnect them from the Master in, and reconnect them to the name of your Bus in. You also have to connect the bus to the Master in so it actually outputs audio. Below you can see my tom drum connected to the bus, and I just did that for the rest of my tracks.

Tracks and Busses Window

LV2 Plugins

There are multiple different types of audio plugins that you can use. LV2 plugins work exceptionally well on Linux and there is a large selection of free ones. The LV2 MIDI instrument I used was Dexed. Anyways, you just download the file and copy the .lv2 file to /usr/lib/lv2, at least on Linux. Obviously, you would put it elsewhere on different OSes. On opening Ardour it should be in your options for adding a MIDI instrument track.

Adding MIDI Instrument

So now you can expand the track to get a keyboard.

Expanded Track

I have used LV2 plugins on other software before and I was trying to find out how to customize the instrument. By opening the mixer window you should be able to see all the tracks.

Dexed

If you double click the name, in this case the red “Dexed”, it should open up a dashboard for the plugin where you can customize the sound. Also, you can press the keyboard symbol in the corner to allow the keyboard to act as the piano keys. This helps greatly when trying to get the perfect sound.

Instrument Dashboard