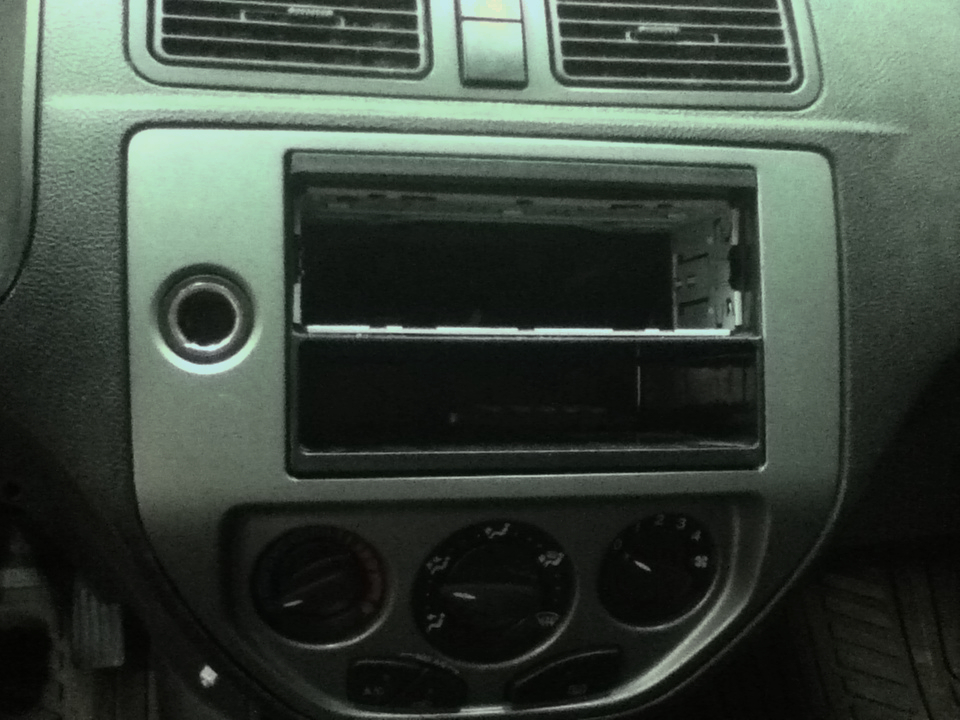
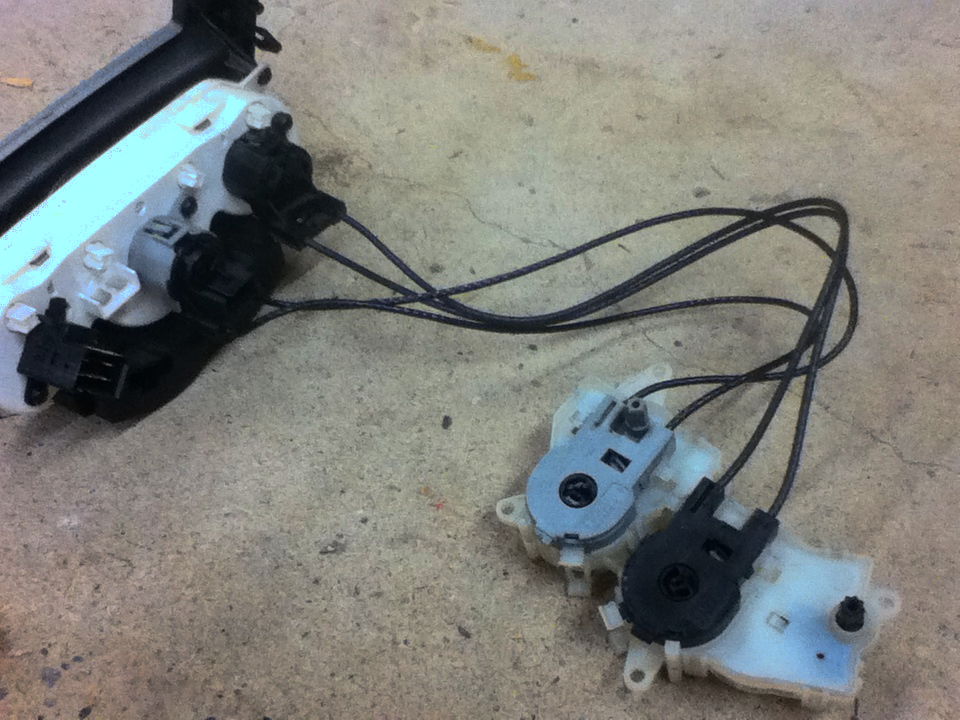
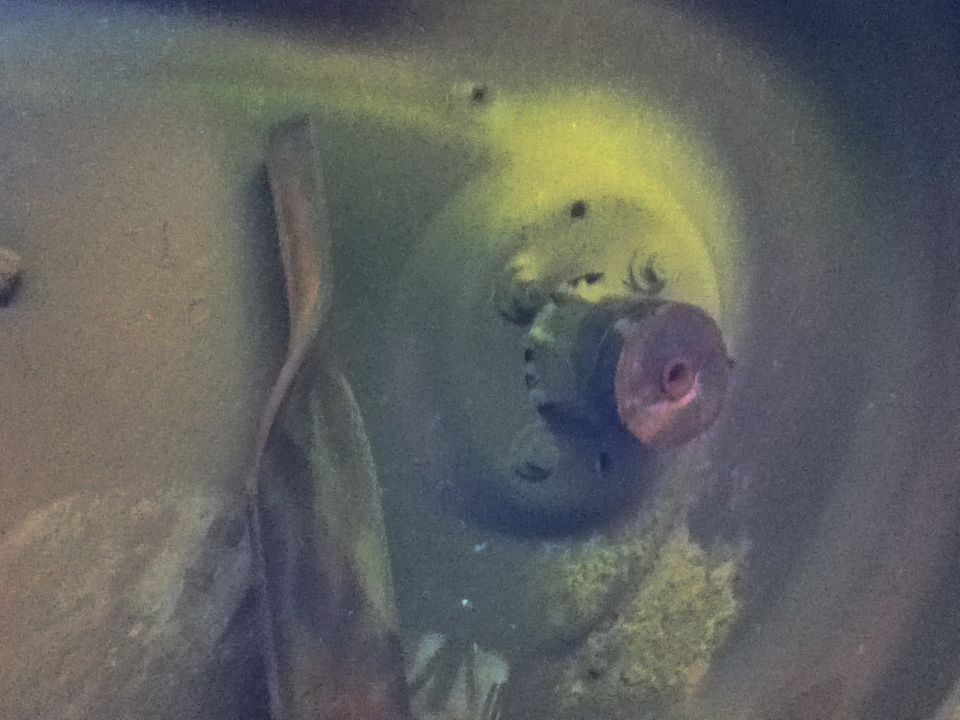
In my last post, I discovered how to fix the HVAC control knob, but that was not the root of my problem. The root of the whole thing was that the HVAC shutter doors were getting stuck. This “hack” is not the proper way of doing things, but cuts off a lot of time removing the whole dash and taking the whole HVAC apart. behind the controls and radio is the HVAC system. I cut a hole in it and found the lower shutter door that I knew was sticking. There is a rubber seal on the door that had degraded and turned into this glue like goop that stuck the shutter door to the walls. I cleaned off as much of the goop as possible with rubbing alcohol but I knew that it would eventually get sticky again, so I put aluminium foil tape over the door to eliminate any chances of it sticking again.
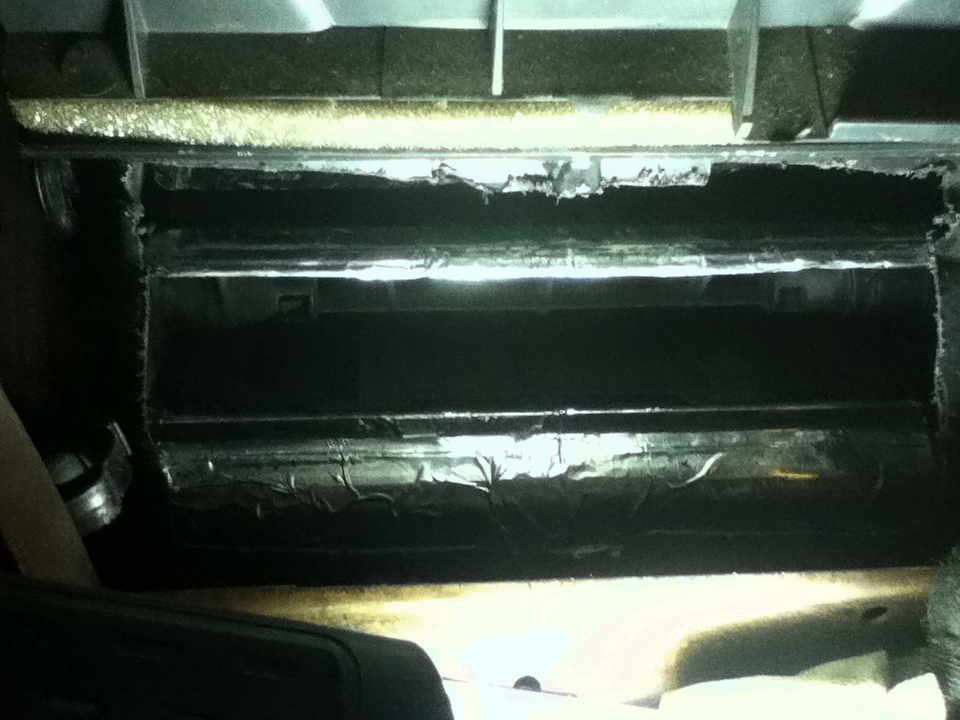
I hot glued in the plastic that I had cut out and made sure it had a good seal. While this is not a proper fix and isn’t really professional, I wanted to get this working with the least amount of time as possible. This seems like it will be a good permanent solution. The car just won’t look as nice if you were to take it apart one day.