Nintendo DSI Shoulder Repair

There is this game on my DSI that I really like to play, maybe you have heard of it?

Mario Cart Cartridge

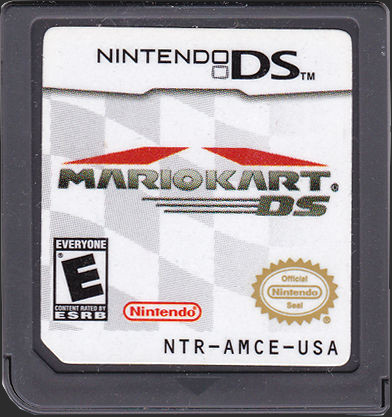
The game requires the R and L buttons for drifting. I bought my DSI at a garage sale, and shortly afterwards the buttons started to not work properly. I did however, find that I could hit the buttons really hard and they would work… sometimes. Needless to say, I quickly lost the use of my left and right trigger buttons.

I recently started a project to repair the buttons, and I will talk you through my disassembly process.

Screwdrivers

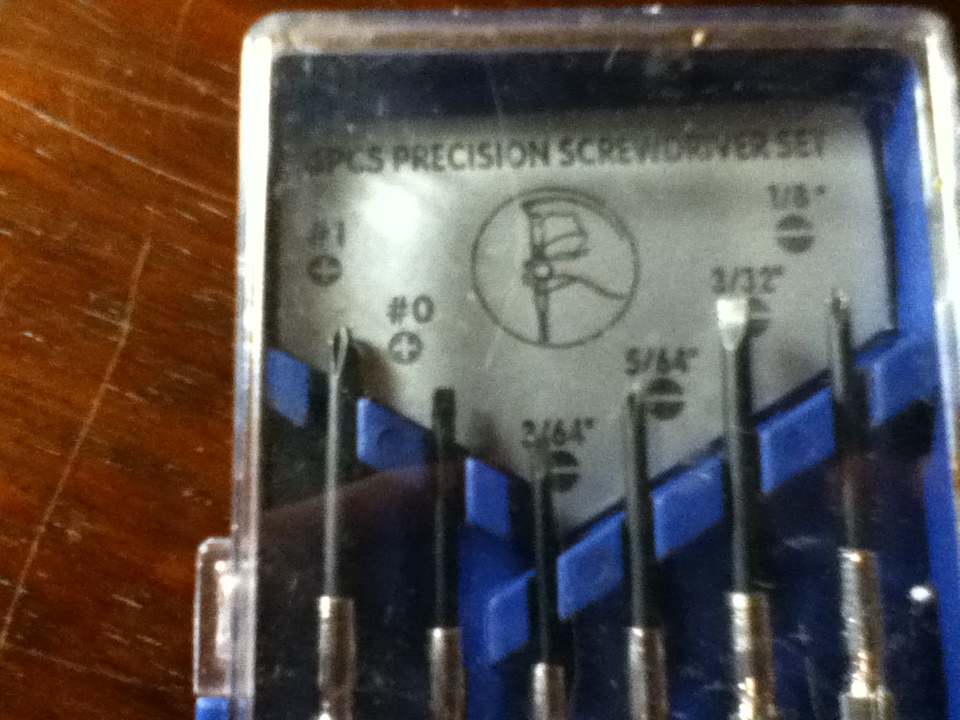
I just used some simple screwdrivers to take off the back panel. My biggest fear was to accidentally strip one of the screws, but with some smaller screwdrivers, and a little patience that can be easily avoided. IFIXIT already has a great step by step guide for this, and that is what I followed for disassembly. Here is the striped down back panel where the L and R buttons reside.

DSI In Parts

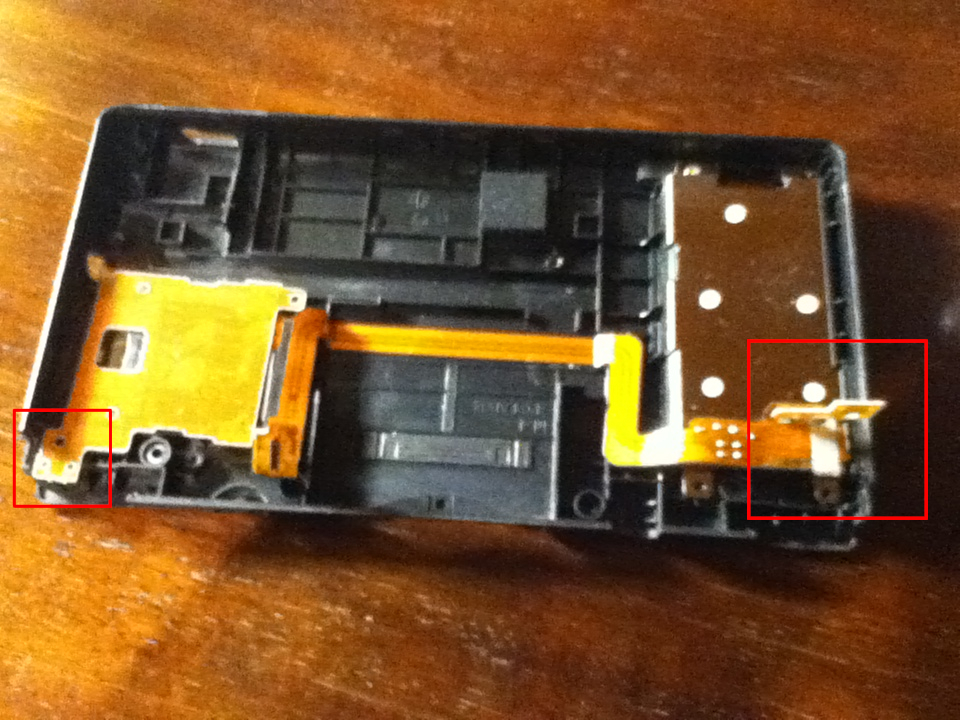
I have already removed the buttons in this picture, but that is where they would be. I highly suggest cleaning the buttons with some rubbing alcohol before removing the buttons, as that would save a lot of hassle. One of the most frustrating things with this design, two separable sides, is the center ribbon cable that is so short and hard to re-attach. Anyways, if you can just clean off the buttons, than congratulations, you probably didn’t button mash like I did. Since I did, I had to remove them.

Tiny Buttons

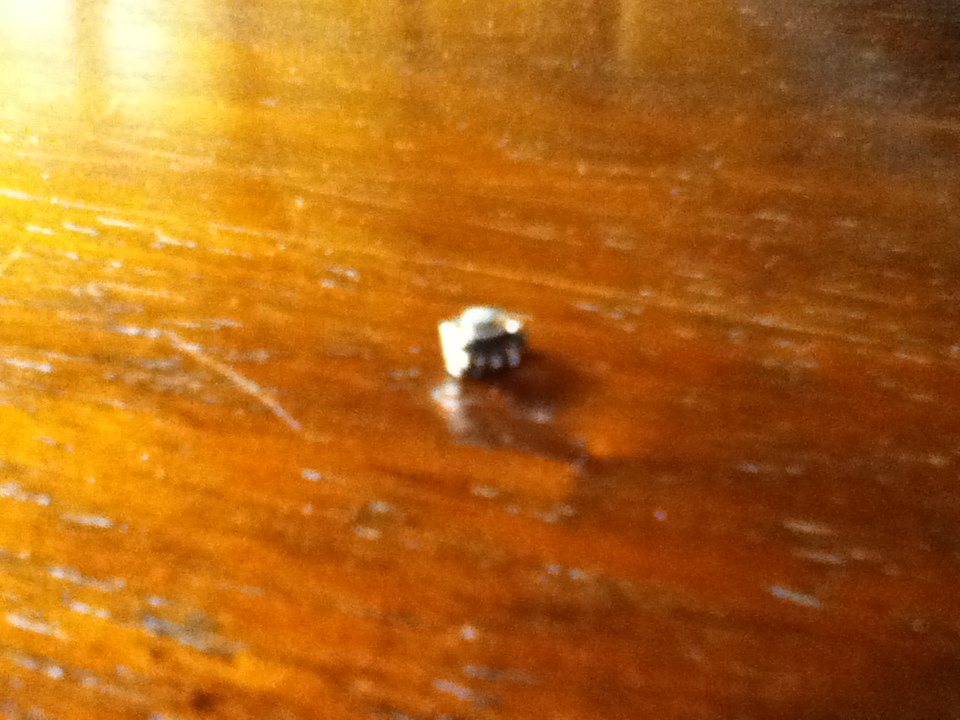
They are really like a millimetre by a millimetre in size. I had some trouble de-soldering them, but with the enlisted help of my brothers hands, it was manageable. Note, don’t attempt to remove buttons alone, unless you are a serious soldering master.

Well, as it now stands, I am awaiting the new buttons in the mail. I will show you where I got them from, and how to reassemble when I get them. Until then, please be careful with your DSI as it is a computer and easily damageable. Seriously, the IFIXIT guide is the way to go with any computer repairs.

AutoTune vs Vocoding

Most people that listen to music would know what AutoTune is. However, not everybody knows about it’s less music oriented predecessor, the Vocoder. There is a definite difference between those who use auto tune for correcting “off” notes, and those who use it because they like the sound of it. If you like robotic voices, you might like the sound of vocoder plugins.

A vocoder basically mixes your voice with a synthesizer. The benefit being that there is a large selection of sound distorting options.

AutoTune Plugin In Ardour

I installed this auto tune plugin and it worked out of the box, but it had a very minimal effect on the sound even on the fast setting.

VocProc Plugin In Ardour

I also installed this vocproc plugin and was able to get a robotic sounding result. You can install it on Linux with a simple command: sudo apt-get install vocproc. It automatically popped up in Ardour, but it did take some messing around with, as it bases it’s pitch shifting on a separate MIDI track. A more in depth setup video for vocproc can be found here.

Zynaddsubfx in Ardour

I don’t know about you, but I’m super excited to have the latest Zynaddsubfx running in Ardour. I actually got it from the github page for Linux and it took forever to build. I had tried to install it multiple other ways, but it had unmet dependencies or wouldn’t show up in Ardour.

Zynaddsubfx Finally Running

I have come to love the different synths provided in Synaddsubfx because I used to use it in LMMS and it has especially nice choir sounds. It now has a bunch of new synth plugins, and plenty of options for customization.

Zynaddsubfx Finally Running In Ardour

Editing Audio in Audacity

So, you recorded yourself, but there is a big gap at the beginning of the audio clip. Well, that “problem” can be easily solved using Audacity.

Audio Selected

Editing is as simple as dragging to select and deleting the undesired area. The problem is when you are trying to edit tiny bits of audio out of a recording. Maybe there is a wrong note on your piano recording, or you said the wrong word. It all depends how well you want the audio track to flow. In this song, a note is about .2 seconds long. That will differ from song to song, but this is around the sweet spot where you can pick out undesirable sounds.

Zoomed In On Audio

There are some helpful editing tools that are highlighted in red in the corner. There are in order, the cut, copy, paste, trim around selection, and silence selection tools. There are also five zoom tools at the top, but it is easiest to just use the zoom in and out ones.

Editing Tools

Step by Step Audacity

What is Audacity you may ask. Well, I’m glad you asked. Audacity is free, open source, cross-platform, audio editing and recording software. I am going to start off with the basics, but if you want to look at some of the cool stuff you can do with Audacity then consider checking out the wiki page.

So, yes, it is cross-platform. It runs on most of the main operating systems that are available today, and I am using it on Linux. If you are too it is as simple as opening up a terminal window and typing sudo apt-get update && sudo apt-get install audacity. Downloading using apt-get won’t always get you the latest version of the software, so you can also get the Linux source code, the Windows, or macOS downloads from their website.

Now that we have Audacity installed, what do we do with it? Well, lets start with recording. If you plug a microphone into your computer Audacity should pick it up. My settings are shown in the picture below, but keep in mind I am using Linux, so the playback and audio host software will likely be different on Windows and macOS.

Audacity Settings

The main thing that you should notice is the recording device. Mine is set to my laptop sound card, but if you have a DAC to plug in you would change that setting here.

Monitering

If you click at the top of the application where the monitoring volume bar is you should be able to see the input of the microphone plugged in.

Recording Track

You should now be able to press the red recording button and record on a stereo track. Be careful that you aren’t clipping. You should have the input volume high, but the track volume can be turned down.

If you happen to have a mono microphone than you can click on the Audio Track drop down and Split Stereo Track. Then you can pan the mono track to the middle.