Our drivers door on our 2007 Ford Focus broke and we were forced to open the vehicle from the trunk or use the key-less remote. After disassembling the door, this is the piece that I found was broken.
The bottom piece is the new part and you can see the little metal tab sticking out on the right that is not on the top part. It was quite the hassle to get the part into the door since there is limited room. Now the door works just as new and I am pleased with the part.
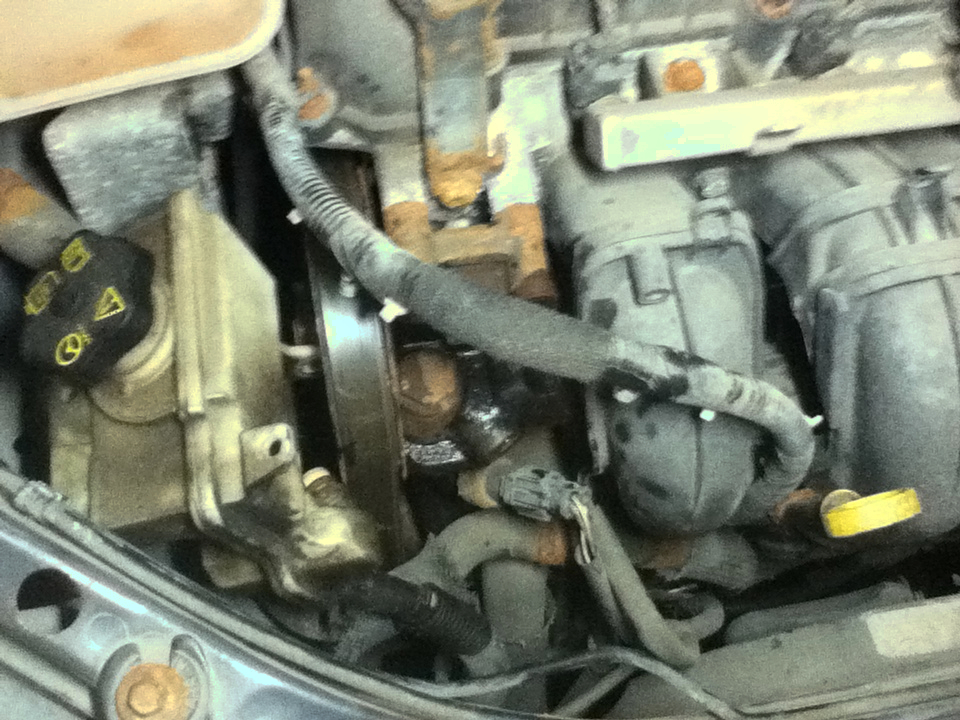
Our 2007 Ford Focus started having a power steering oil leak a few years back and we would top it off when the pump started making excessive noise. After sitting through a winter, the line burst when we started it back up. I got around to replacing it, and it took more work than I thought it would have. I took the line off of the pump and fished it down under the car.
The line fed back up under the air intake and battery housing. I had to remove those before removing it from the steering shaft.
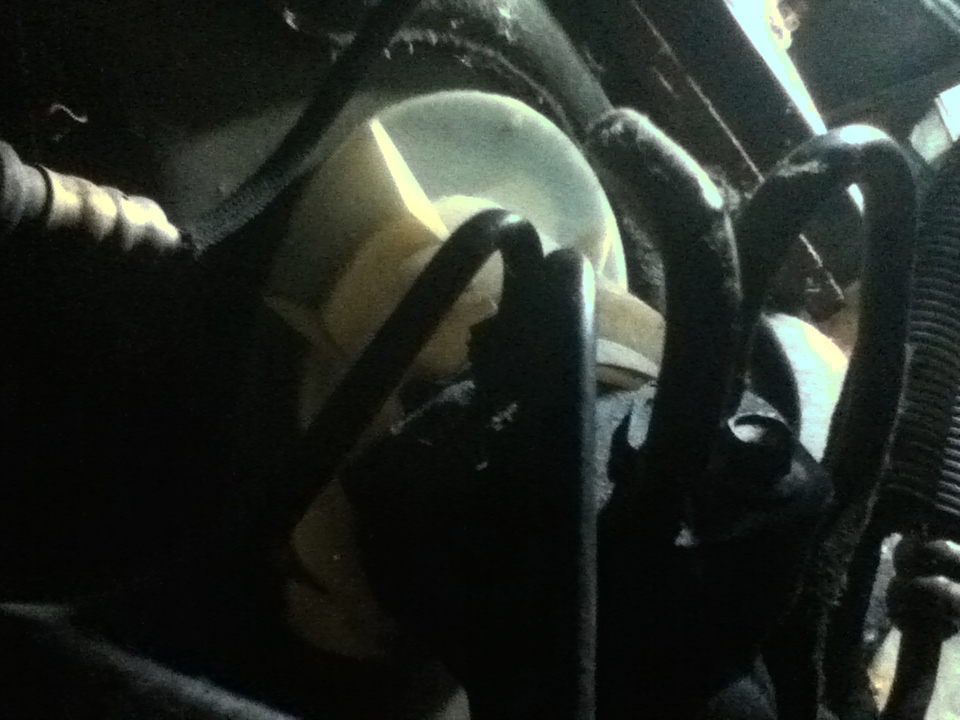
It took a bit of work to get it all back together and fish it around all of the other cables and hoses but it worked! It did make some strange gurgling when the car was first running and I figure that is from air being in the line. After a few minutes of running, the sounds went away and it sounds fine now.
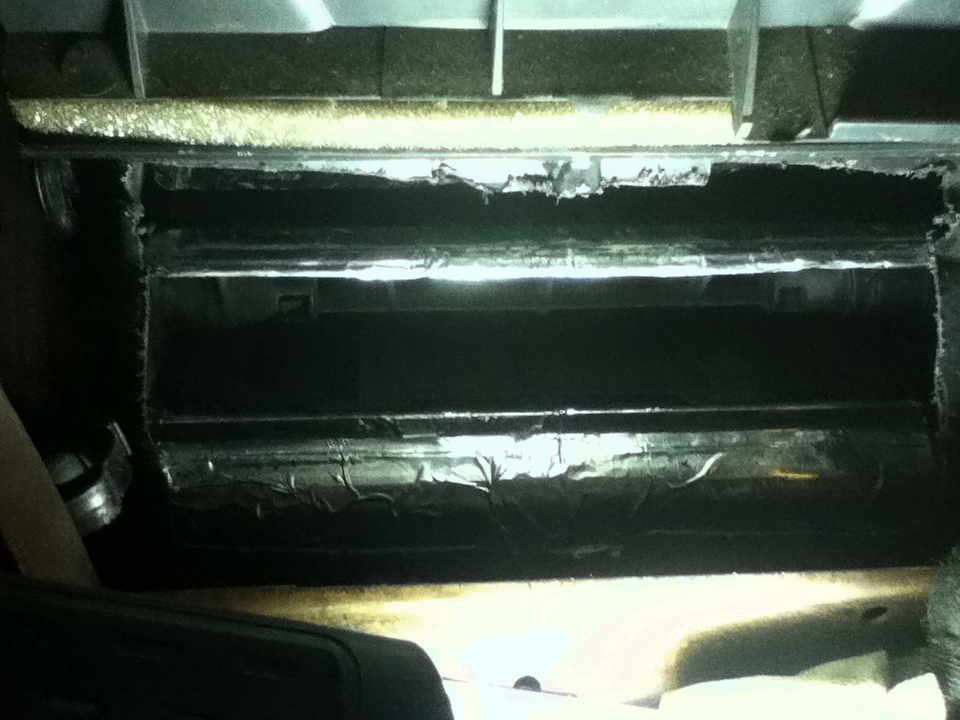
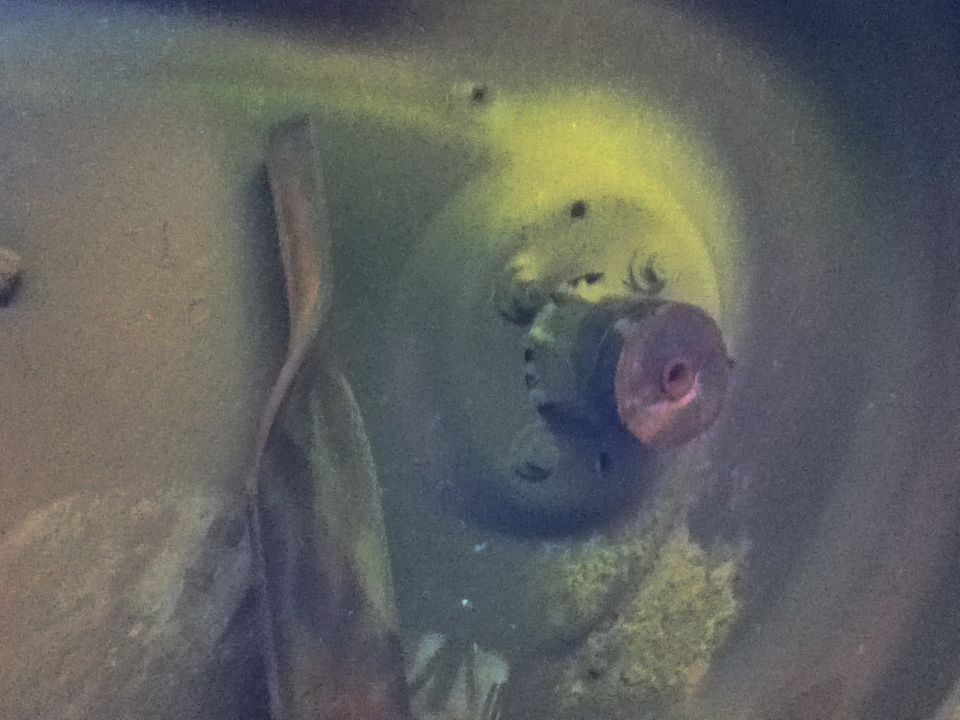
In my last post, I discovered how to fix the HVAC control knob, but that was not the root of my problem. The root of the whole thing was that the HVAC shutter doors were getting stuck. This “hack” is not the proper way of doing things, but cuts off a lot of time removing the whole dash and taking the whole HVAC apart. behind the controls and radio is the HVAC system. I cut a hole in it and found the lower shutter door that I knew was sticking. There is a rubber seal on the door that had degraded and turned into this glue like goop that stuck the shutter door to the walls. I cleaned off as much of the goop as possible with rubbing alcohol but I knew that it would eventually get sticky again, so I put aluminium foil tape over the door to eliminate any chances of it sticking again.
I hot glued in the plastic that I had cut out and made sure it had a good seal. While this is not a proper fix and isn’t really professional, I wanted to get this working with the least amount of time as possible. This seems like it will be a good permanent solution. The car just won’t look as nice if you were to take it apart one day.
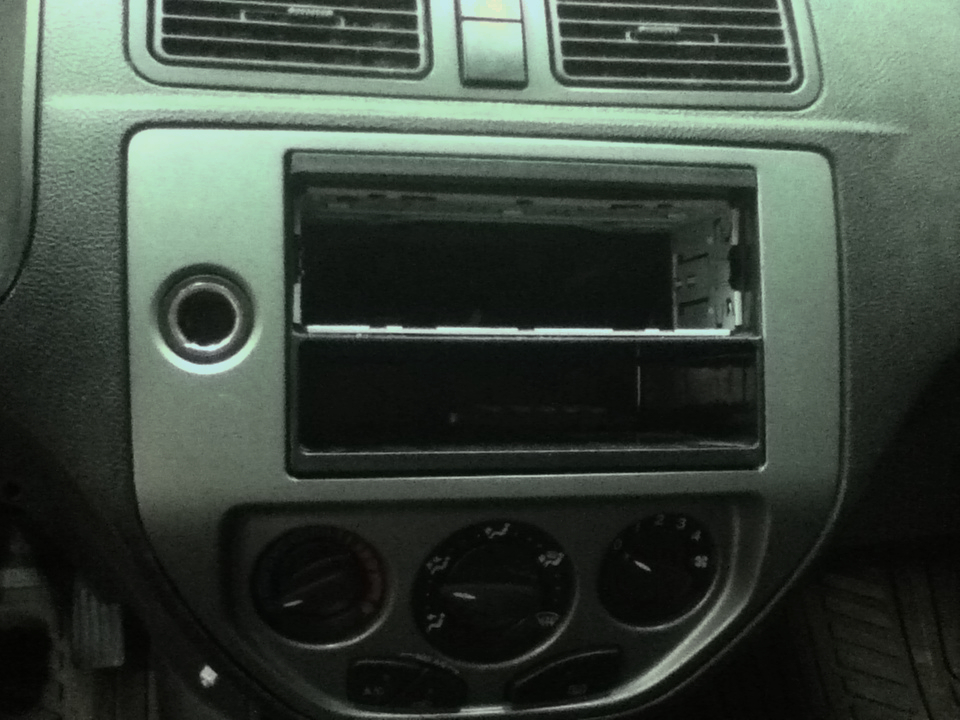
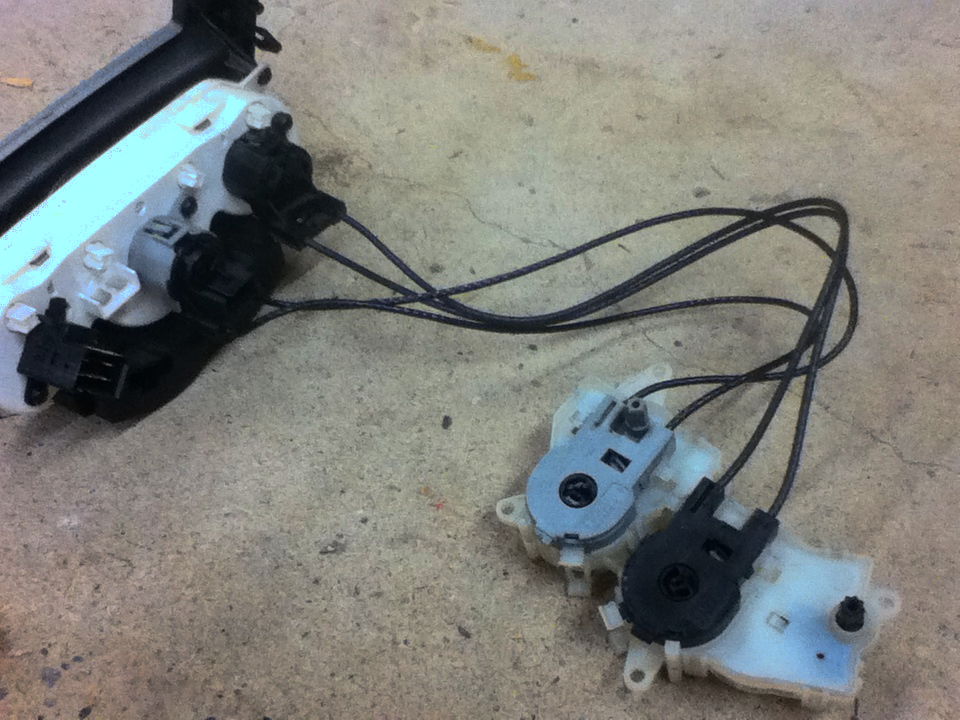
We have had a 2007 Ford Focus hatchback for quite a while now and every winter we would notice that the HVAC control knobs got harder and harder to turn. Eventually, we ended up turning it too hard one day and it didn’t adjust the airflow anymore.
We took it to a mechanic and to the local Ford dealership. They told us it would cost $1000 to tear apart the whole dash and fix the problem. I recently discovered that the knob mechanism was entirely accessible with only a bit of tear down.
There are cables that attach the knob down, under the steering wheel, to the shutter doors that open and change the airflow. Since the knob could move freely, I figured that the knob or cables were broken. After plenty of YouTube research and playing around, I discovered that not only had the cables slipped out of their pulling locations due to stretching, but the knob was also slipping on the gear. After lots of gluing and tinkering, I finally got the whole thing working. That is the only problem for some people, but I had further problems with the shutter doors sticking. I fixed the symptoms, but the initial problem still needed fixing. I’ll cover that in the next post.
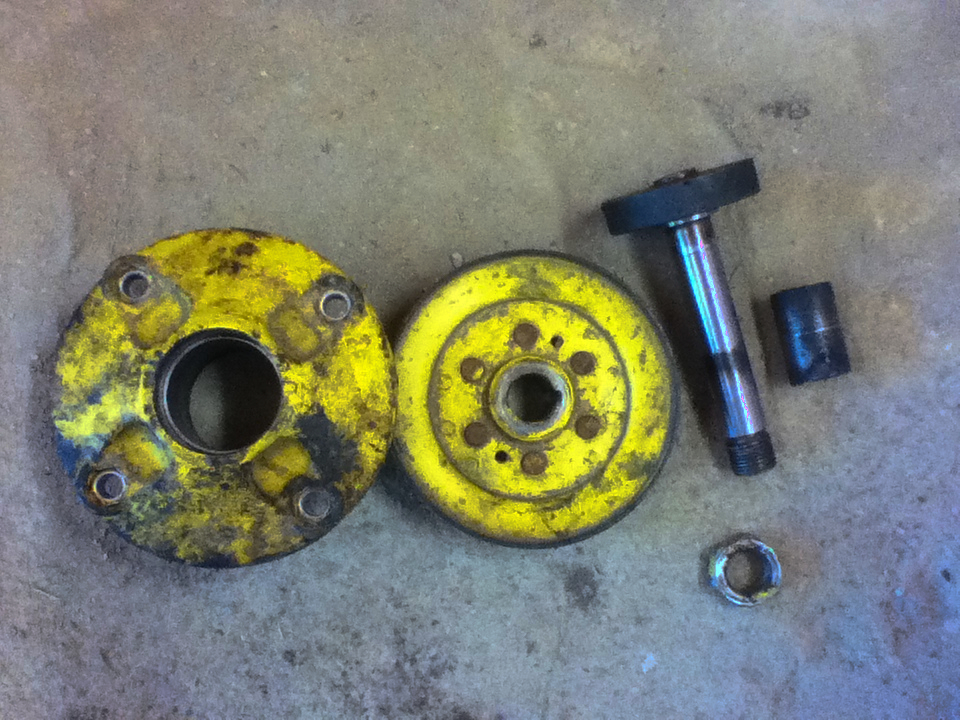
I was mowing the other day and a scraping sound started being emitted from the mower deck. Being the tractor loving person that I am, I was soon on my hands and knees investigating these unexpected sounds. I quickly discovered that the blades were scraping the deck because they were wobbling. I figured that a bearing came out so I took the deck off. It took quite a bit of hammering to get the bearing housing off the deck.
That was just the beginning of the hammering. Somehow, I haven’t really hammered my mechanical projects that much which shows my limited experience. The housing required a lot of hammering to get apart!
The new bearings were hard to get back on but they made a big difference. Not only did the blades not hit the deck anymore but the grinding, hurricane sound was gone! Although this job takes a bit of work it really makes a big difference.